As promised, I finally finished the HVAC installation and want to share what I did. There are definitely some things I’d do differently. I’ll try to make a note when I come across those. Please remember I am not a woodworker or a trailer restorer but I know how to work a screwdriver and I’m a draftsman. Maybe the drafting helps me think my way out of a corner.
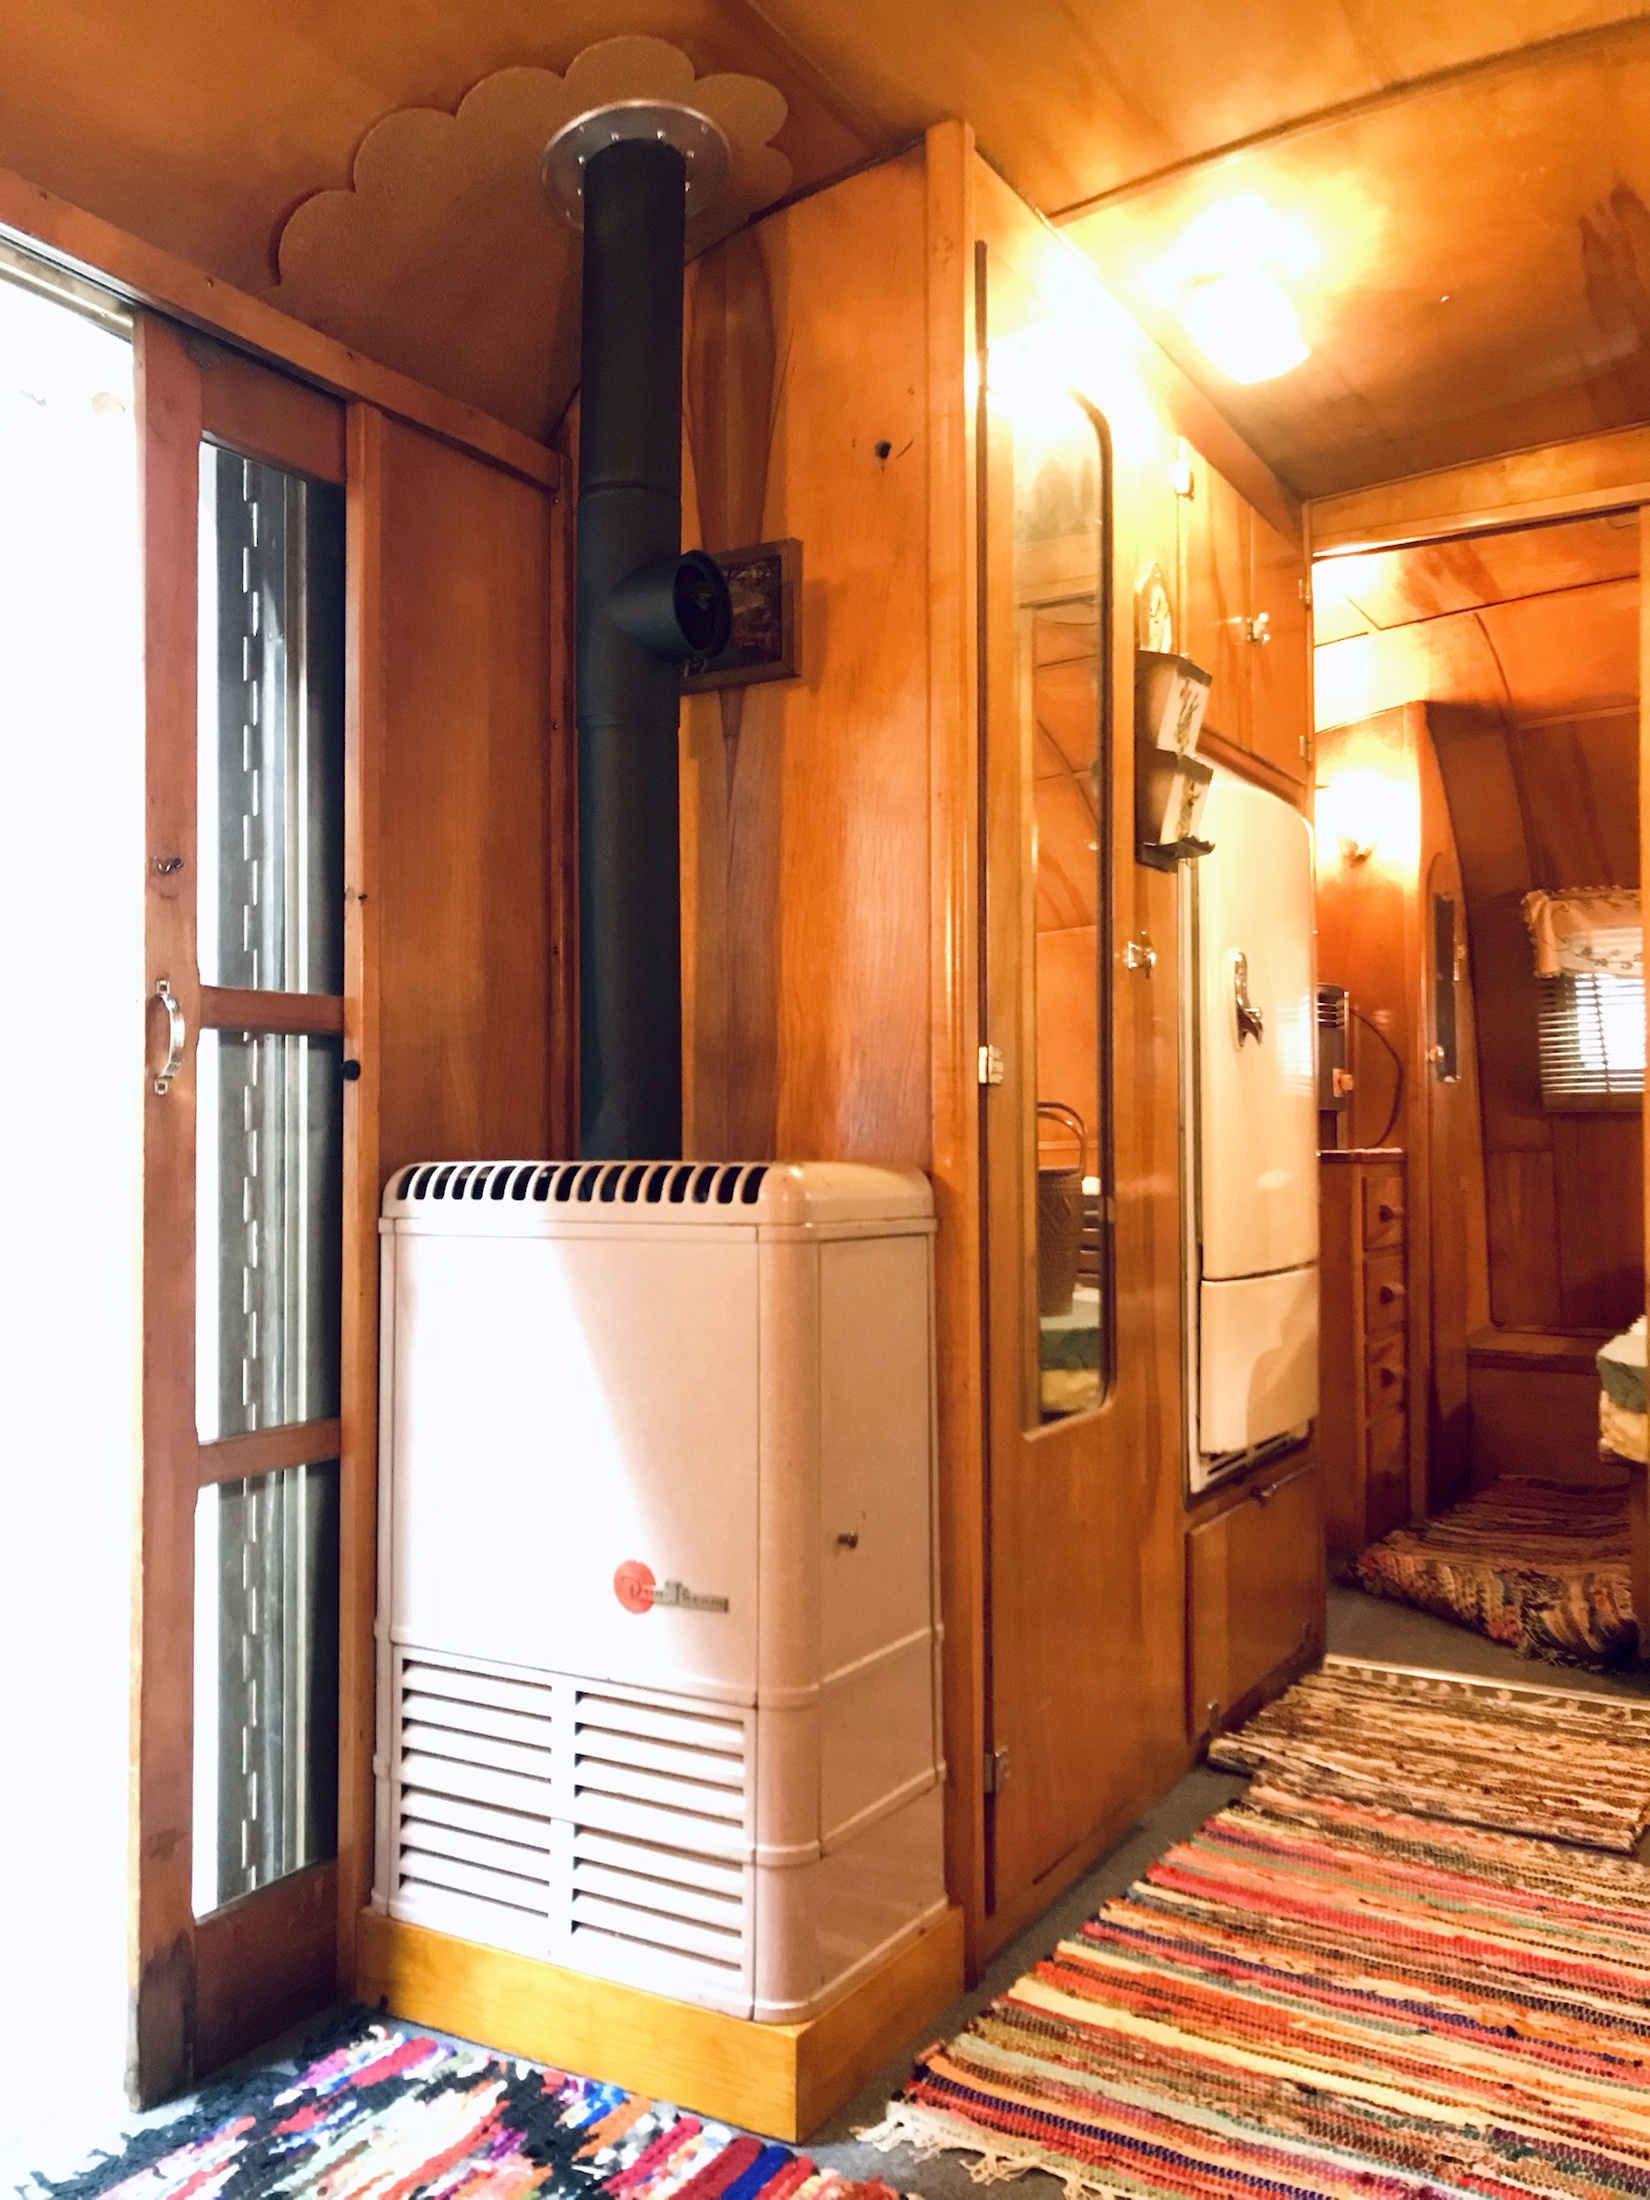
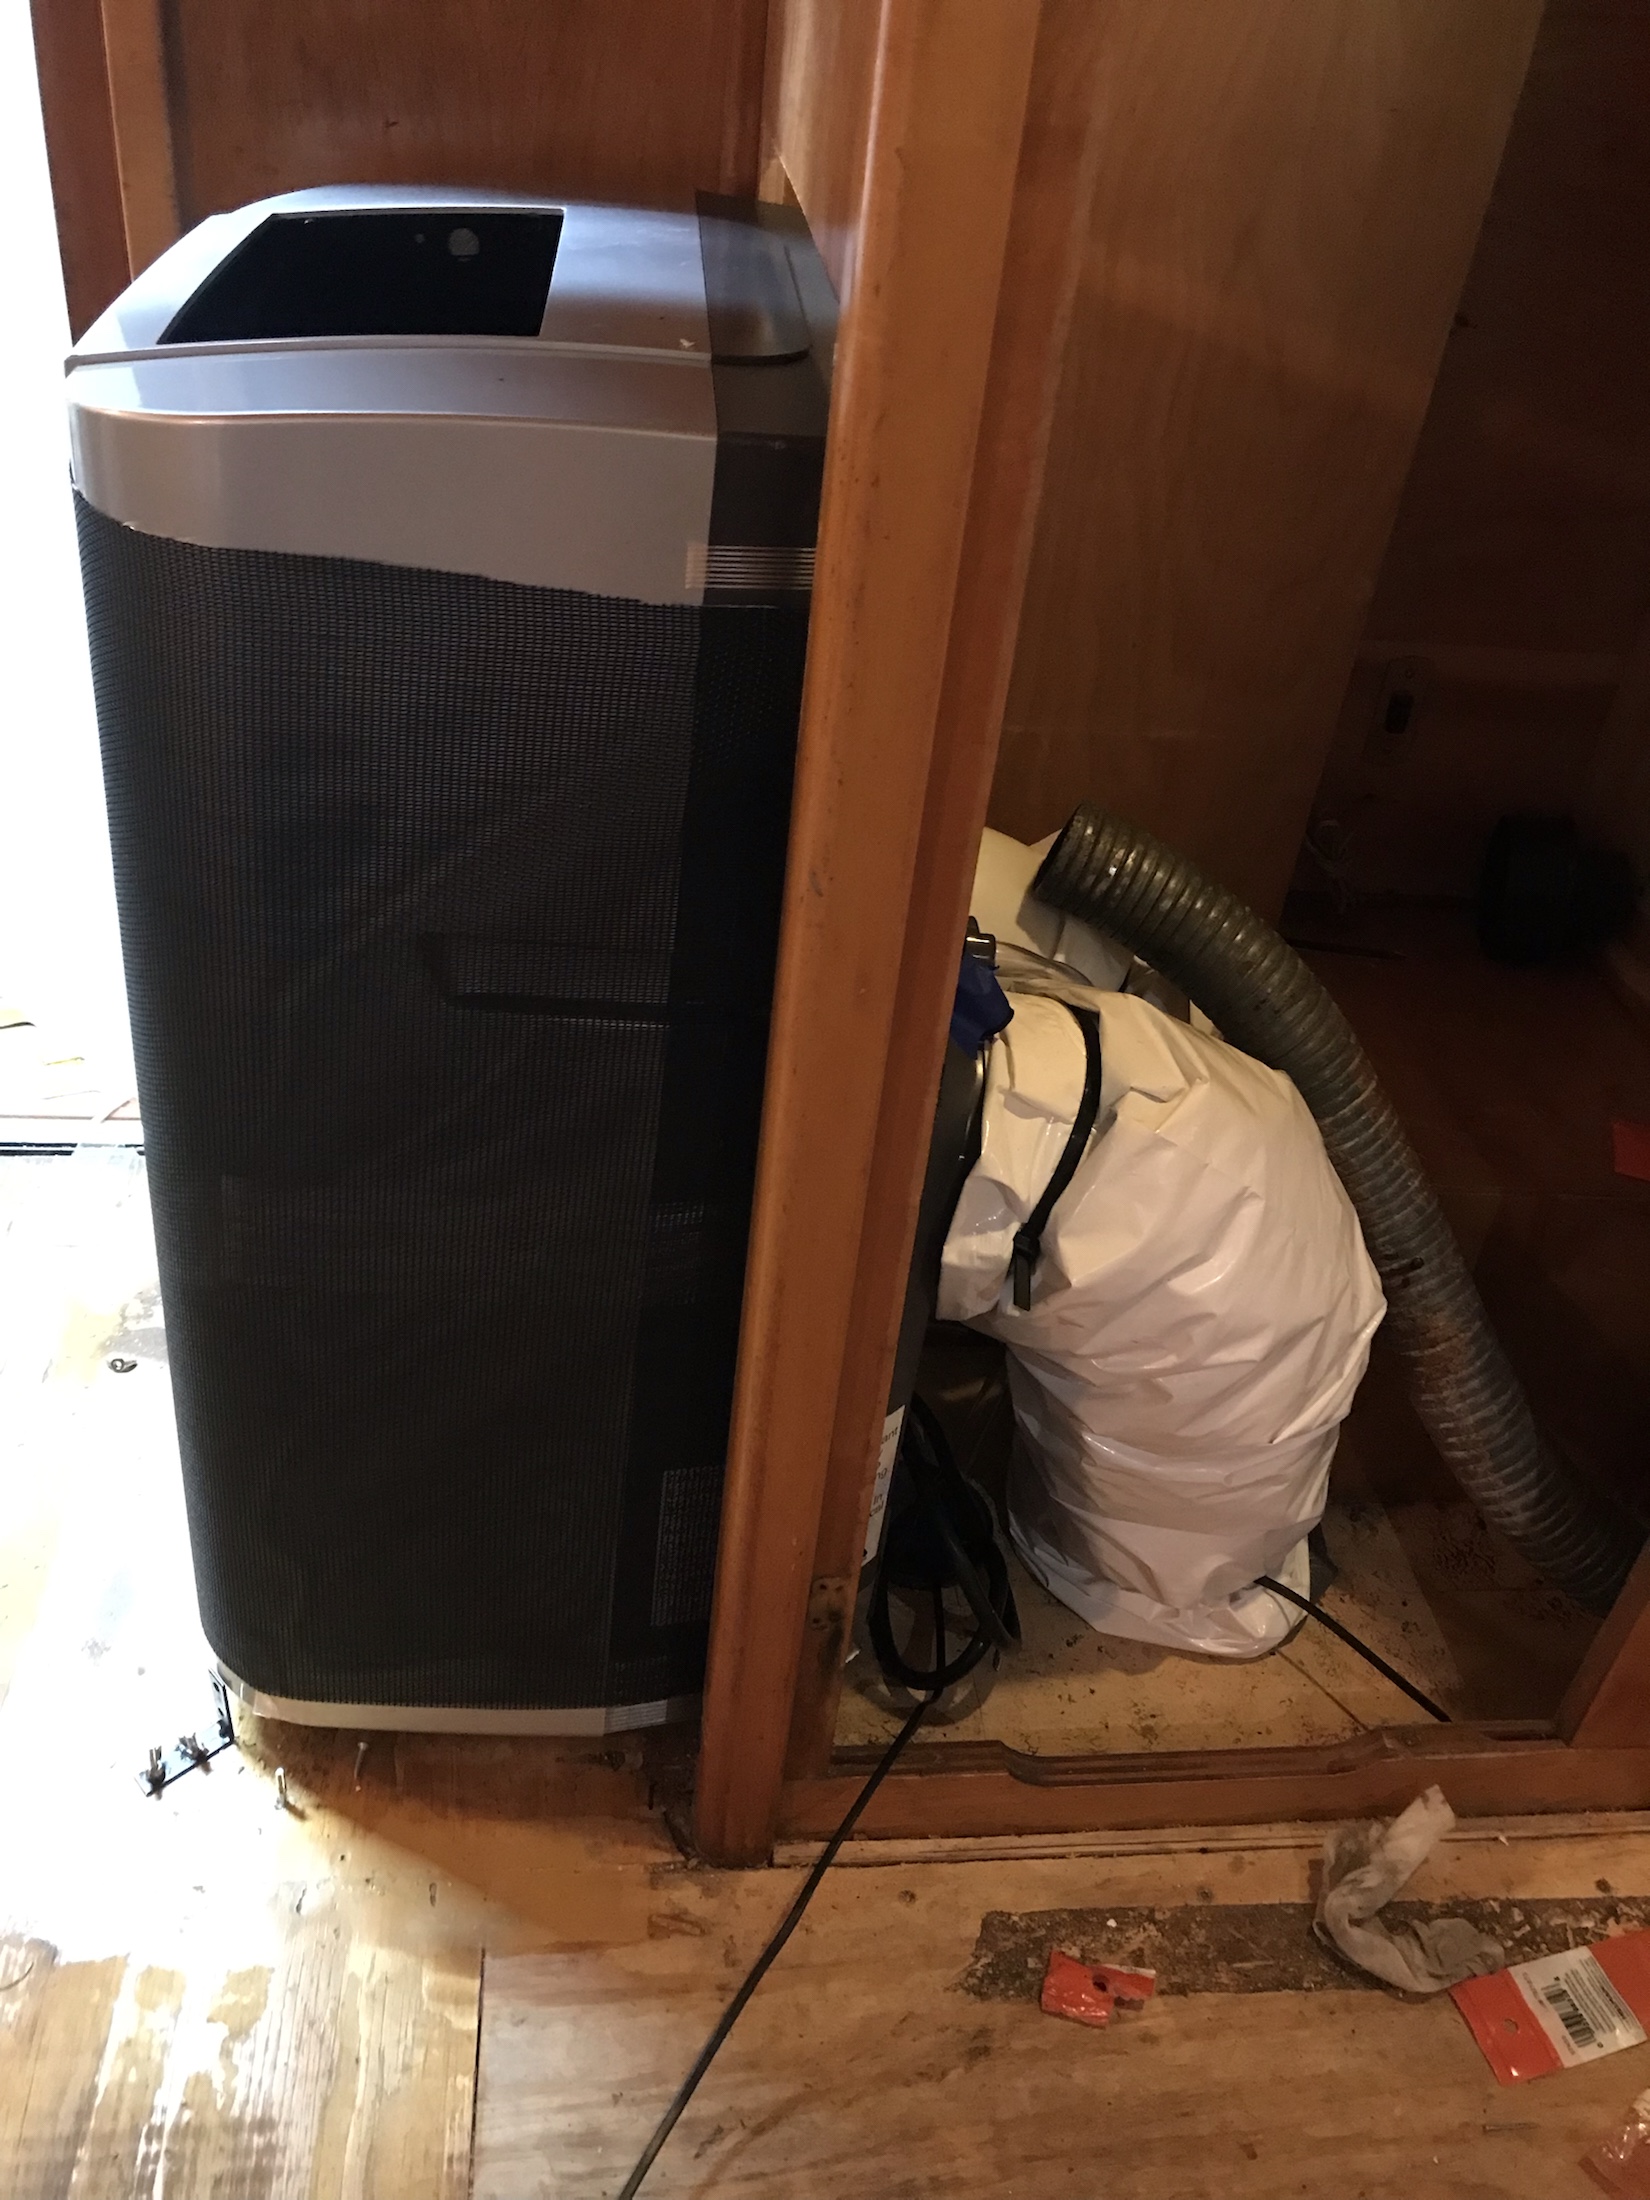
When I sold my 53 Holly, the buyer was willing to let me keep the Duotherm for a fee. I knew where it would go as the Vagabond had a similar unit originally, but the logistics of the ac installation were constantly changing. I planned to use the Duotherm housing to hide an upright portable HVAC unit. I’m not the first person to use a heater housing to hide HVAC or other amenities, but it’s the kind of thing you can’t exactly look up on youtube. You just have to wing it! To start, I measured repeatedly and built test boxes of cardboard before ordering the unit that seemed best suited. None of the units I could find that were slim enough were also short enough to fit in the housing. But, if it was on a wood riser (as it was in the Holly originally) then it would work. I made the riser a little taller than it had to be in case this HVAC dies and another model is needed that might not fit.
No part of the Duotherm was harmed or discarded. The whole thing came apart easily so there was no need to cut anything
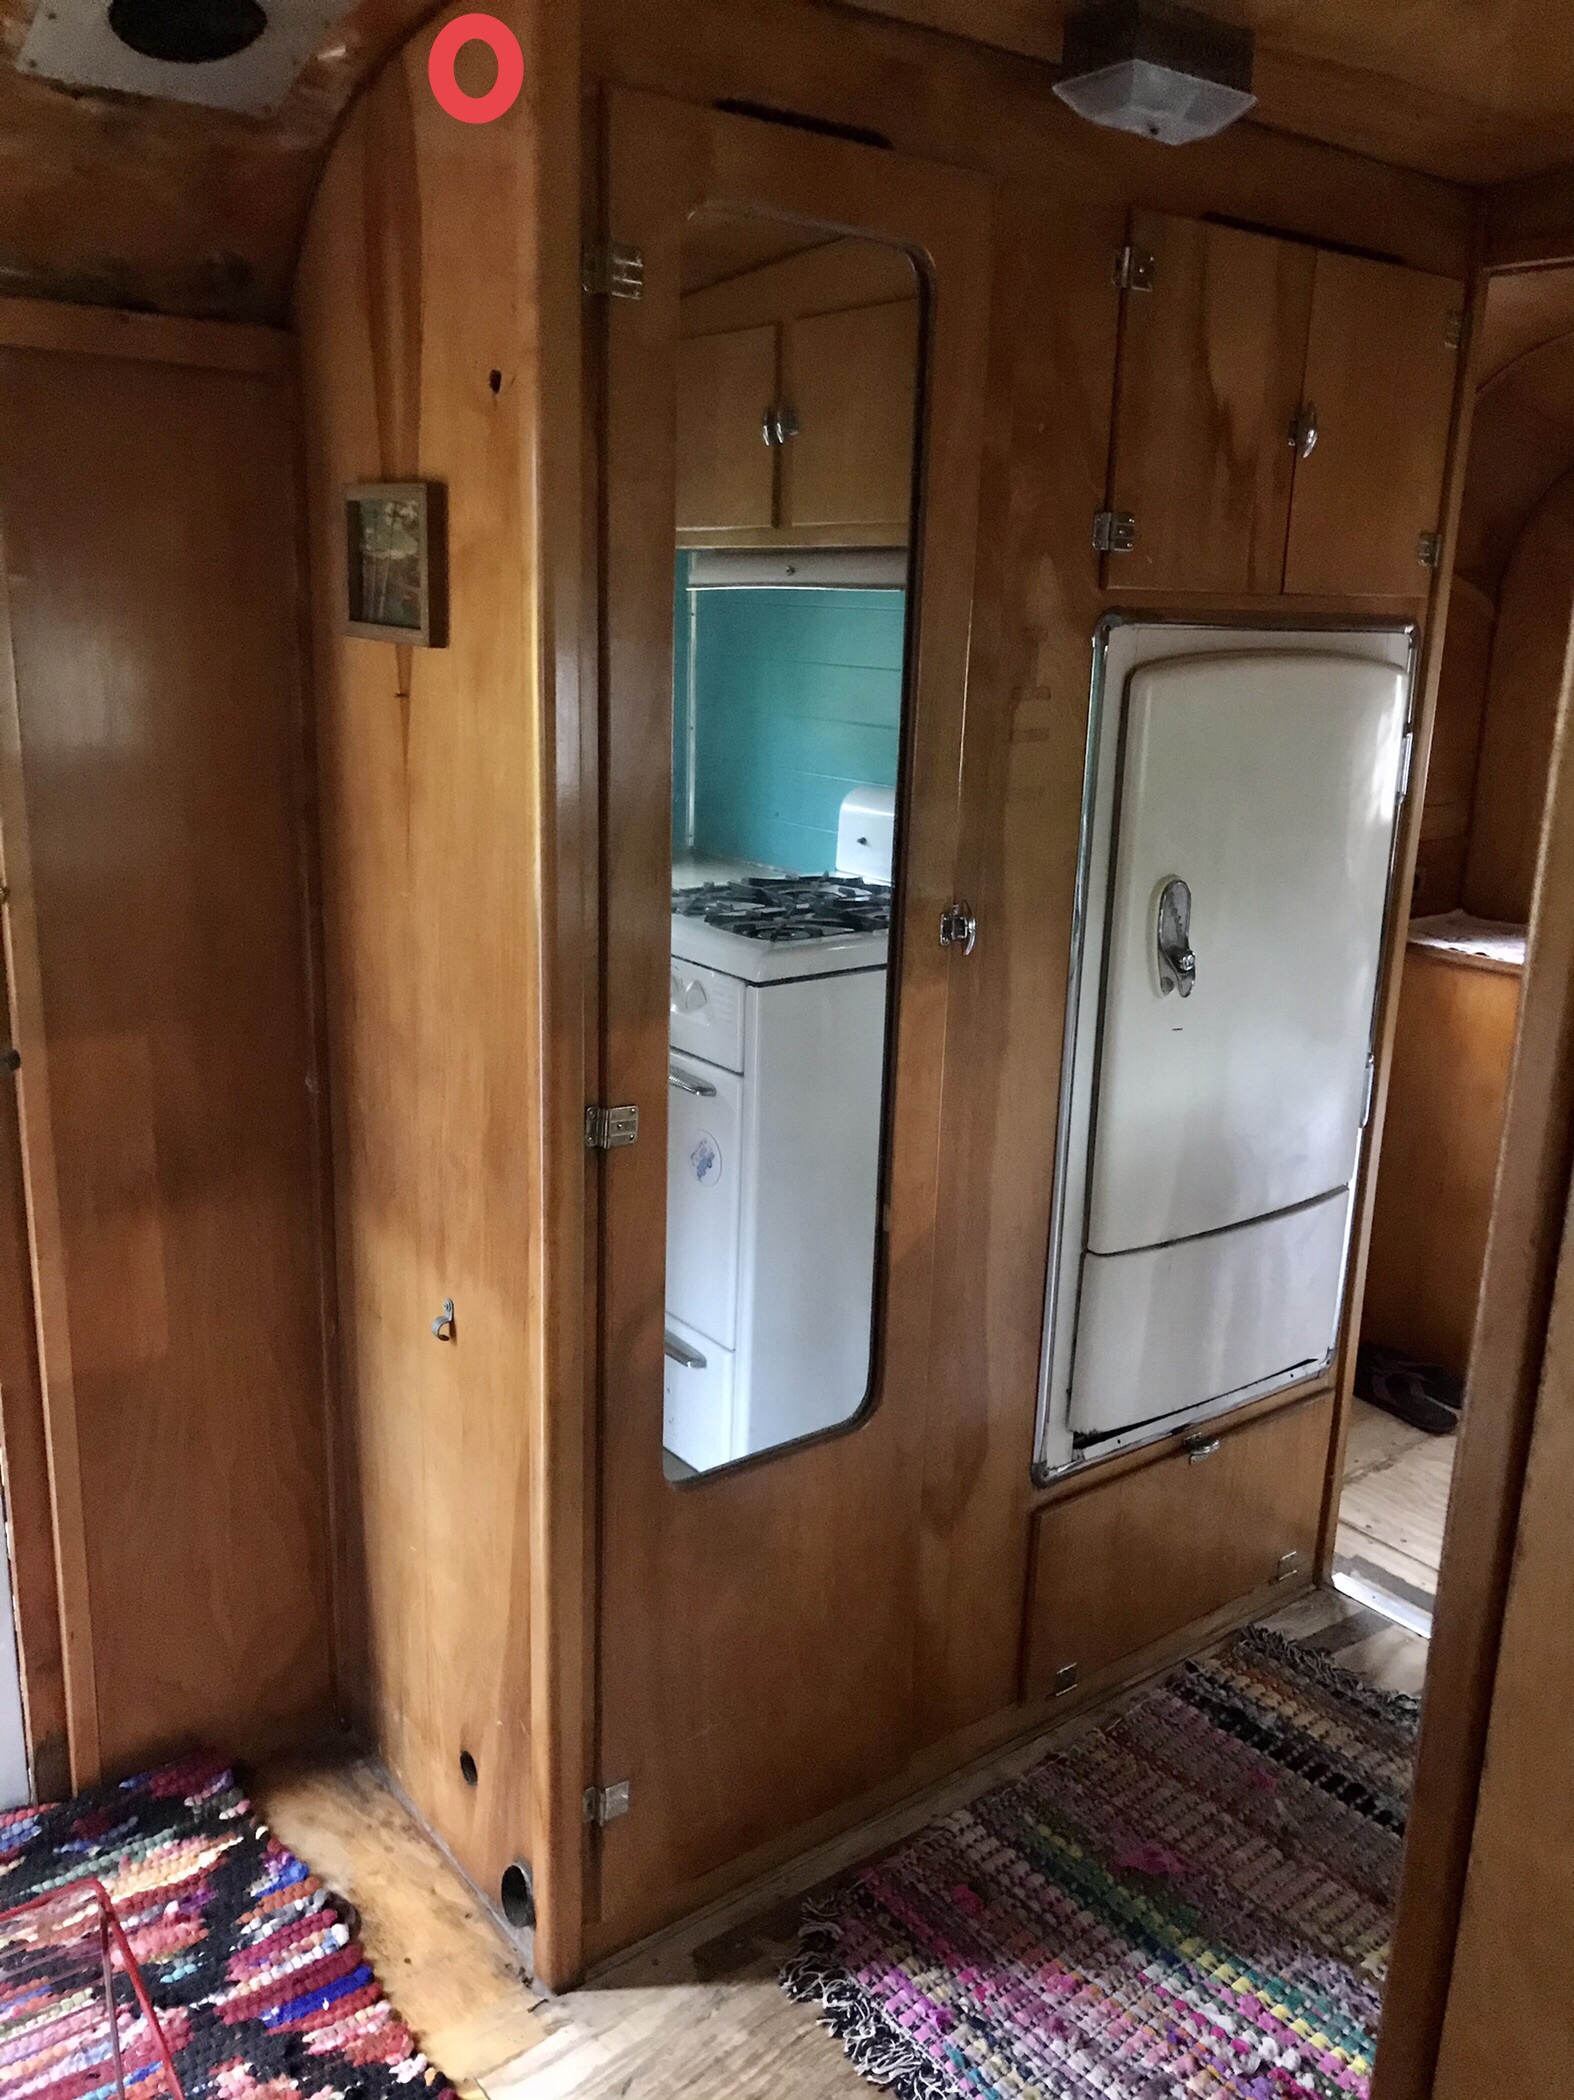
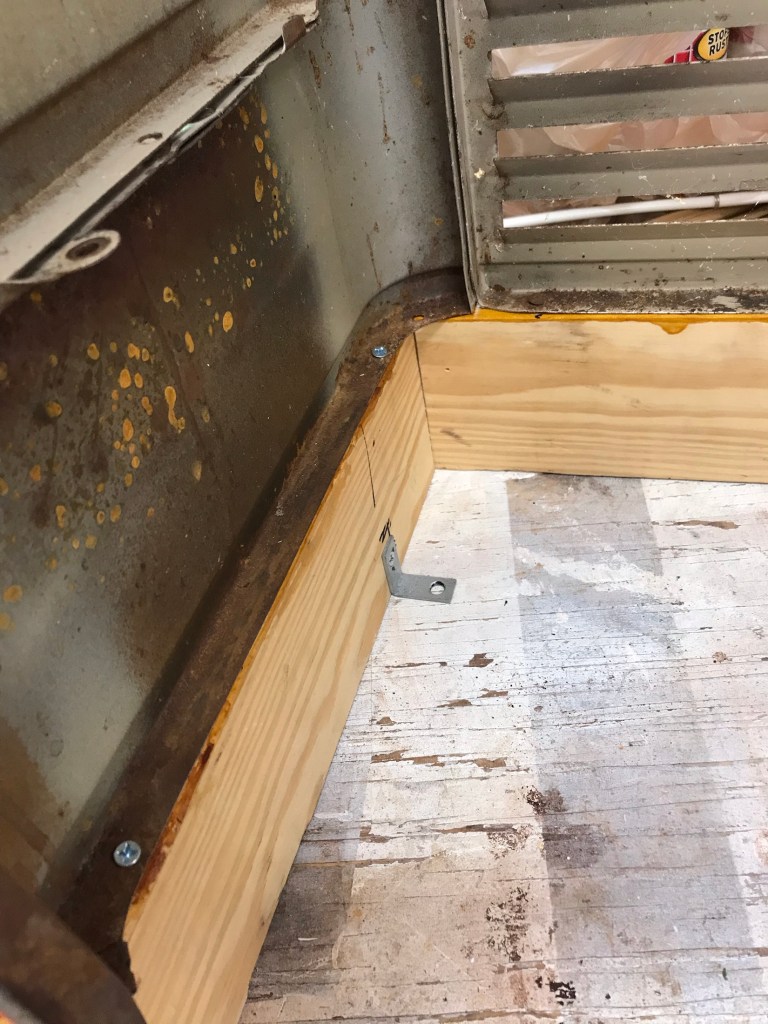
Originally, I planned to duct the cooled air to the bedroom and the living room but my brother who is a professional HVAC person discouraged me from ducting the air. He felt it would be stressful for the unit. So, plan B would be to let the cooled air shoot right out the top through the grill in the top of the Duotherm housing. Next, the exhaust and intake needed to be addressed. I planned to do that through the floor in the closet. That sounds easy but the metal framing under that closet was tight – I had to drill a lot of test holes to mark where I was. Eventually, I was able to drill the holes necessary to fit the ducts. I screwed the fitting that would normally have vented to the outside of a home to the floor of the Vagabond and added some screen gutter guards to discourage critters. I wish I had gotten ductwork with a flange on the top so they would be easy to nail to the floor. It was difficult to drill the large holes – that plywood was dense! By far the most stressful part of the thing was cutting the side of the cabinet. I’m strongly against “damaging” trailers with renovations. But, I needed air here in the sweltering South and I would have been putting the Duotherm in that spot anyway for aesthetics so the hole would not show. I crossed my toes and took to it with my 1980s Craftsman sabre saw. I think I procrastinated on that for about 6 months haha.
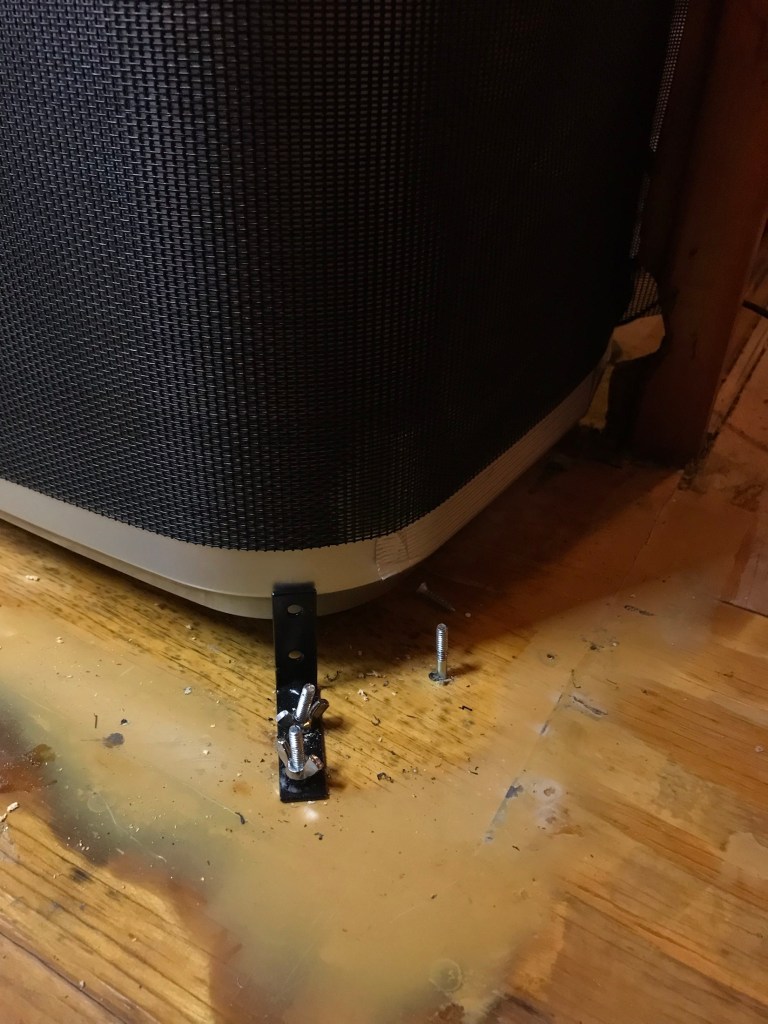
The next challenge was how to keep the “portable” HVAC from rolling around? I did not have means to build any sort of metal enclosure. Eventually I decided to simply address forward and rearward movement separately. Rearward movement is controlled by some large L brackets attached to the floor. Forward movement is controlled by smaller brackets and “lassoing” the unit with heavy duty pet netting attached to the opening via wing nuts and Hanger bolts. It’s my hope that lots of attachments would spread the load and keep things in place. It seems to be working and is easily removed for servicing as its all screwed in place with wing nuts. It’s placed so the filter can be pulled and cleaned without removing the unit. The permanent drain is attached. I also run the fan for a long time after using the AC to be sure the unit is dry. Though this unit has heat, its necessary to cover one of the vents to use it. That is one of those things I wish I had addressed before installation as it’s not practical to remove the hoses on the go. So for now I prefer to use a retro style Vornado space heater.


On to the wood riser – on this part I would make some changes next time. Like I said, I’m not a woodworker but I built this riser out of some scrap pine thinking it was a test run. It had to be open on the back for the HVAC to stick thru, so it was kind of hard to make it solid. Also, due to changes in the floor it had to lean back just a little. One side was wedged up against wall, the other I put another hanger bolt in the floor and an L bracket on the riser to go down over the hanger bolt. It worked well, but one day I’d like to redo it with the birch that I cut out of the cabinet. Also, the nail at the edge nearest the closet is backing out so I need to solve that issue. I should have done the hanger bolt/L bracket thing for that end of the riser as well so it could not move. Another solution would be to have a slim piece of wood on the bottom of the riser that the hvac would sit on and would also hold the sides together.

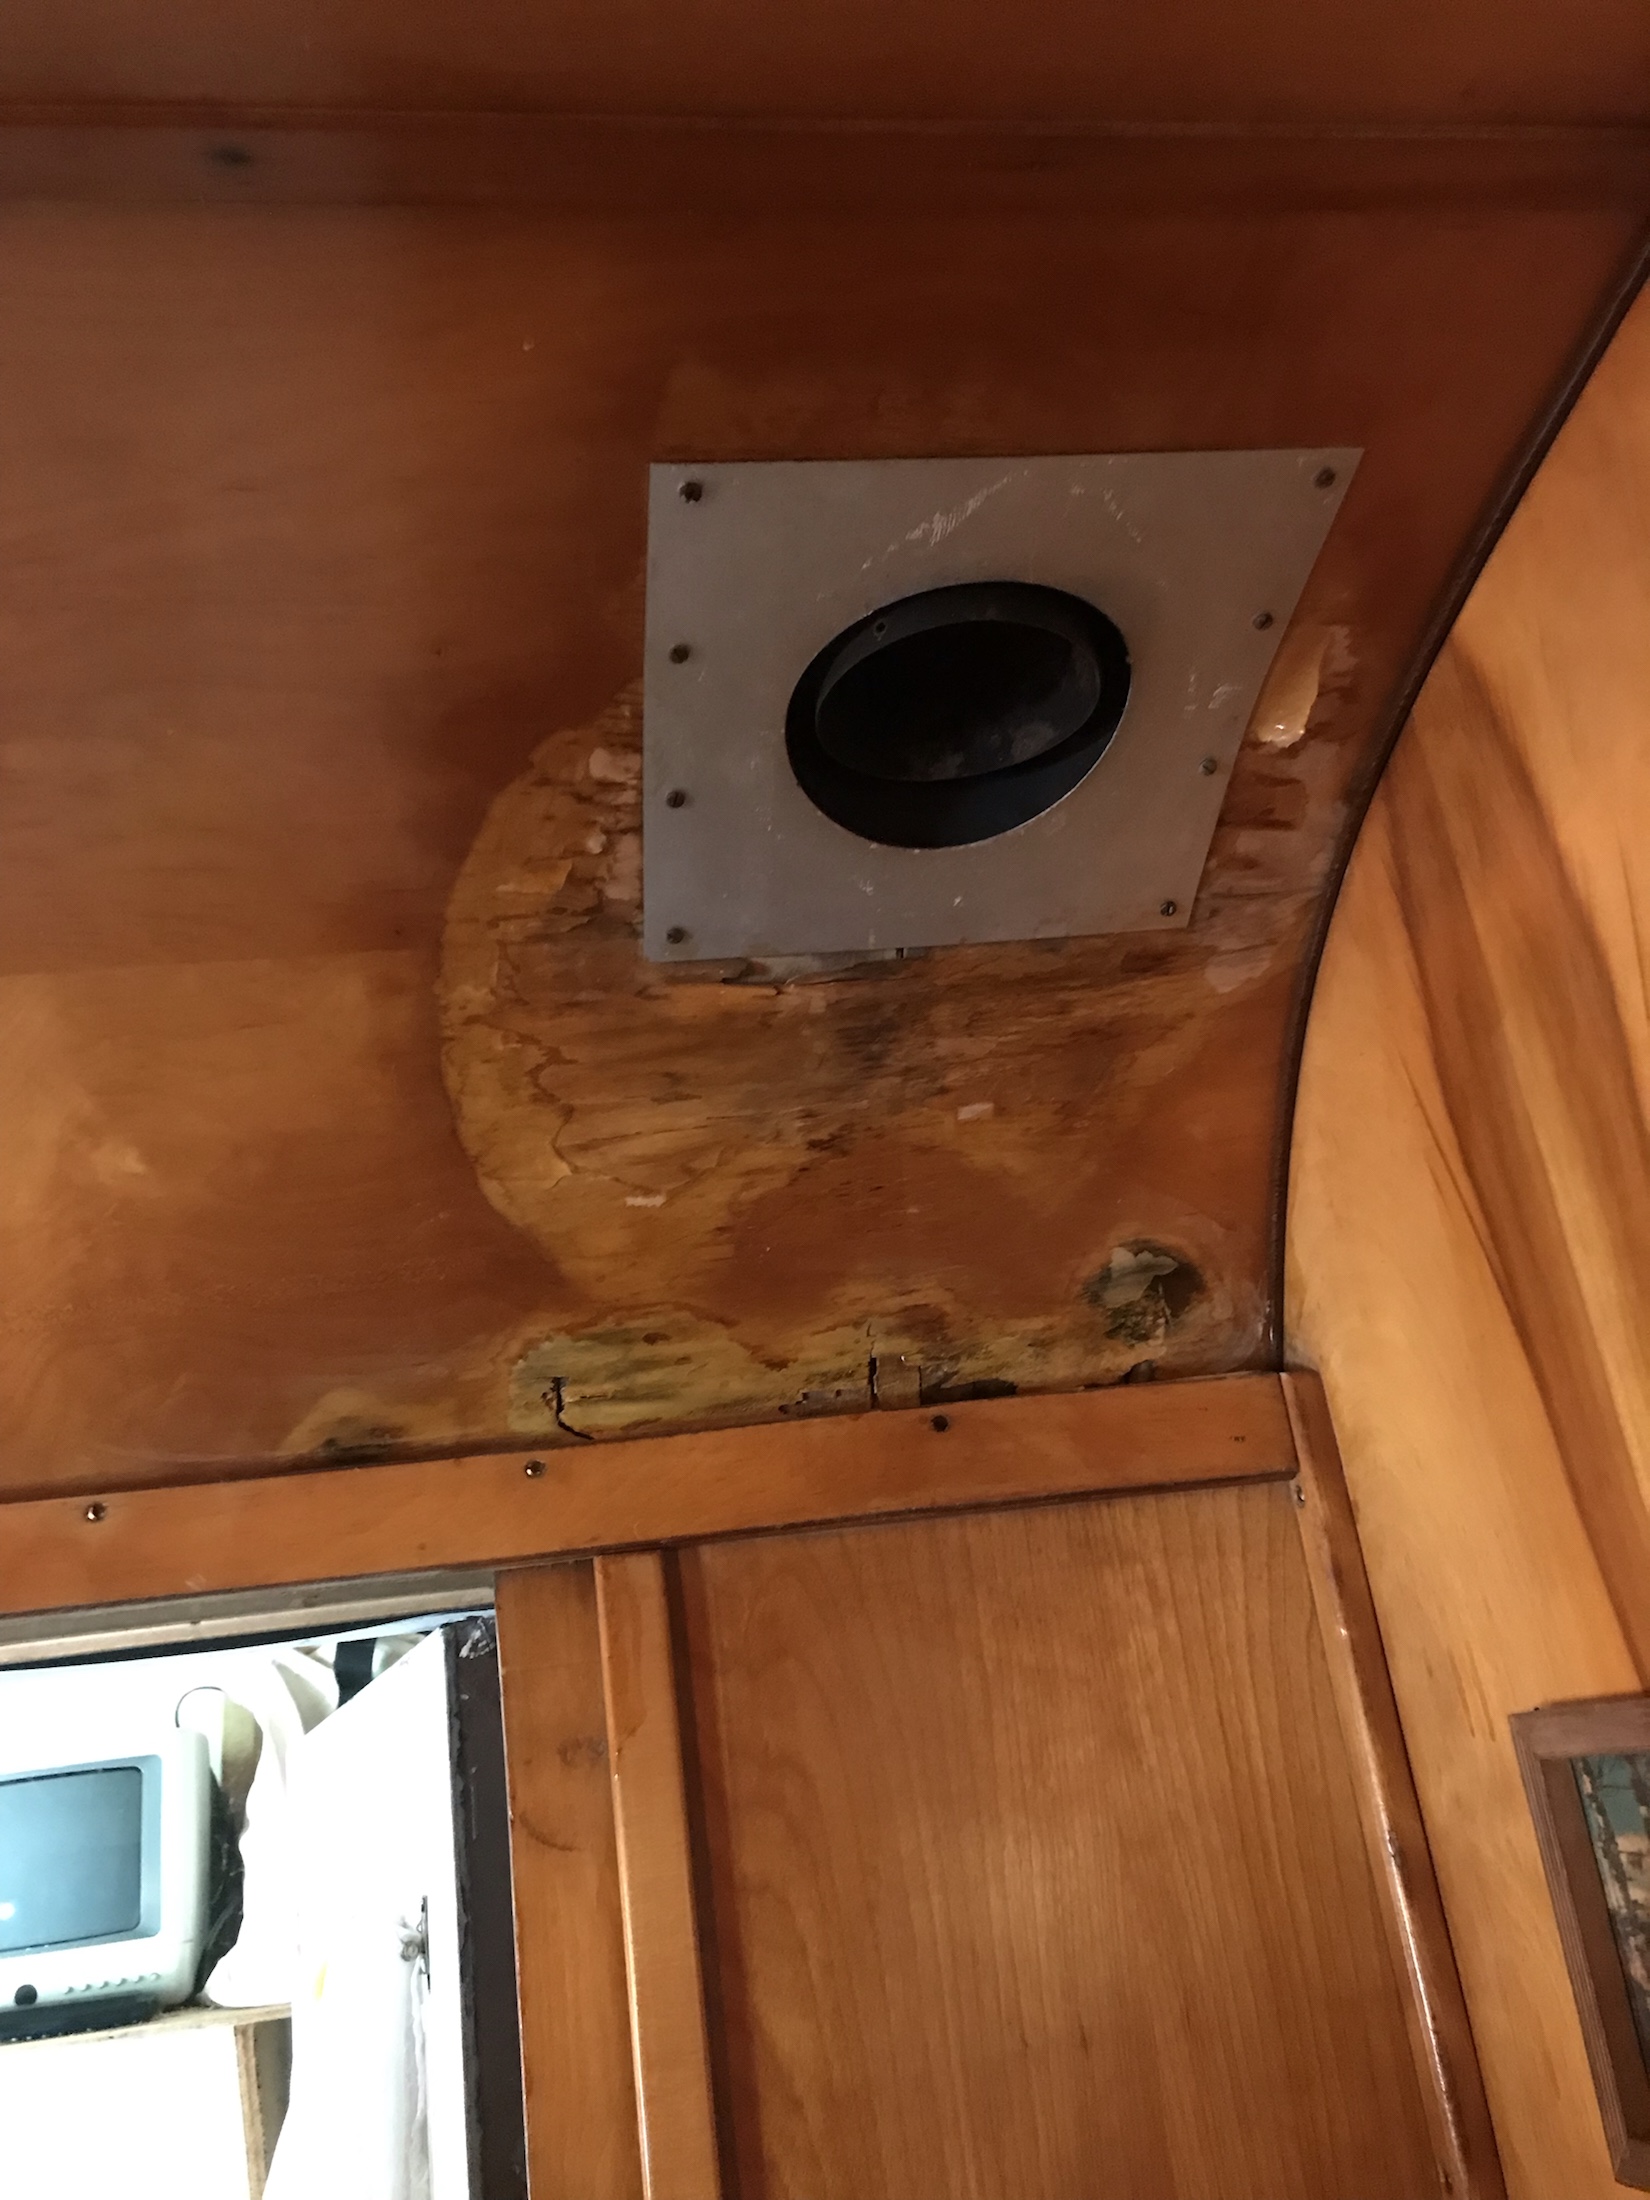
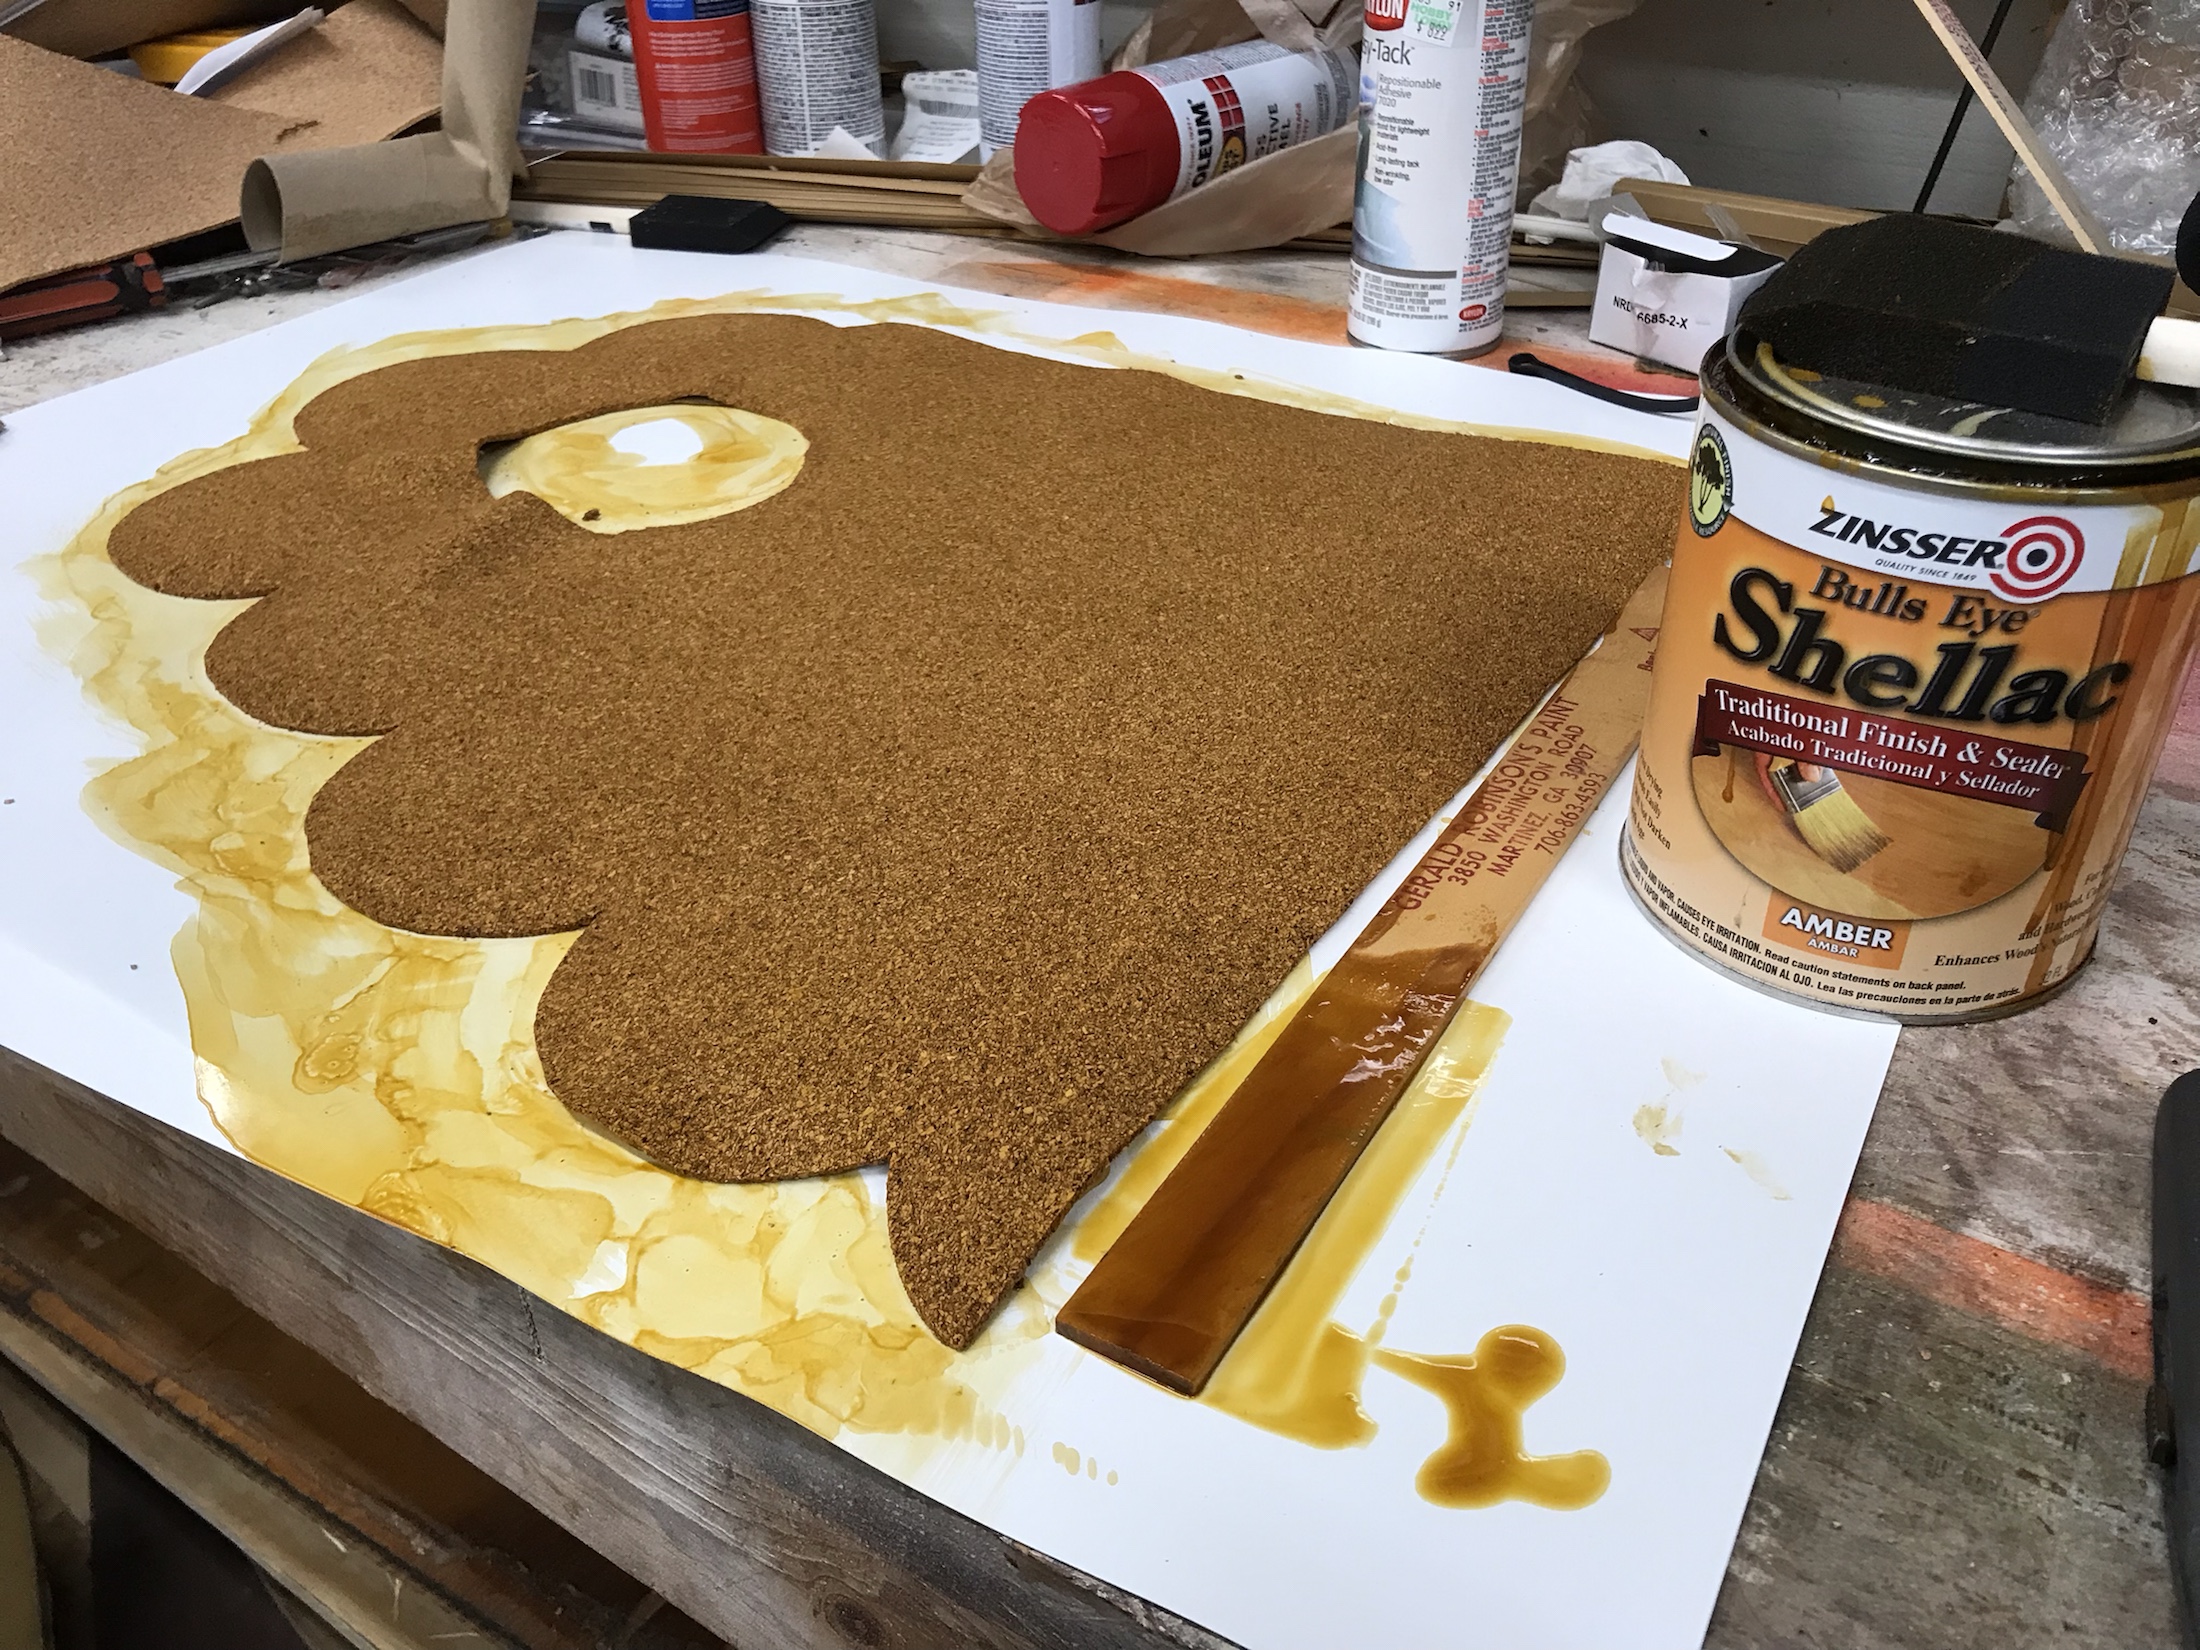
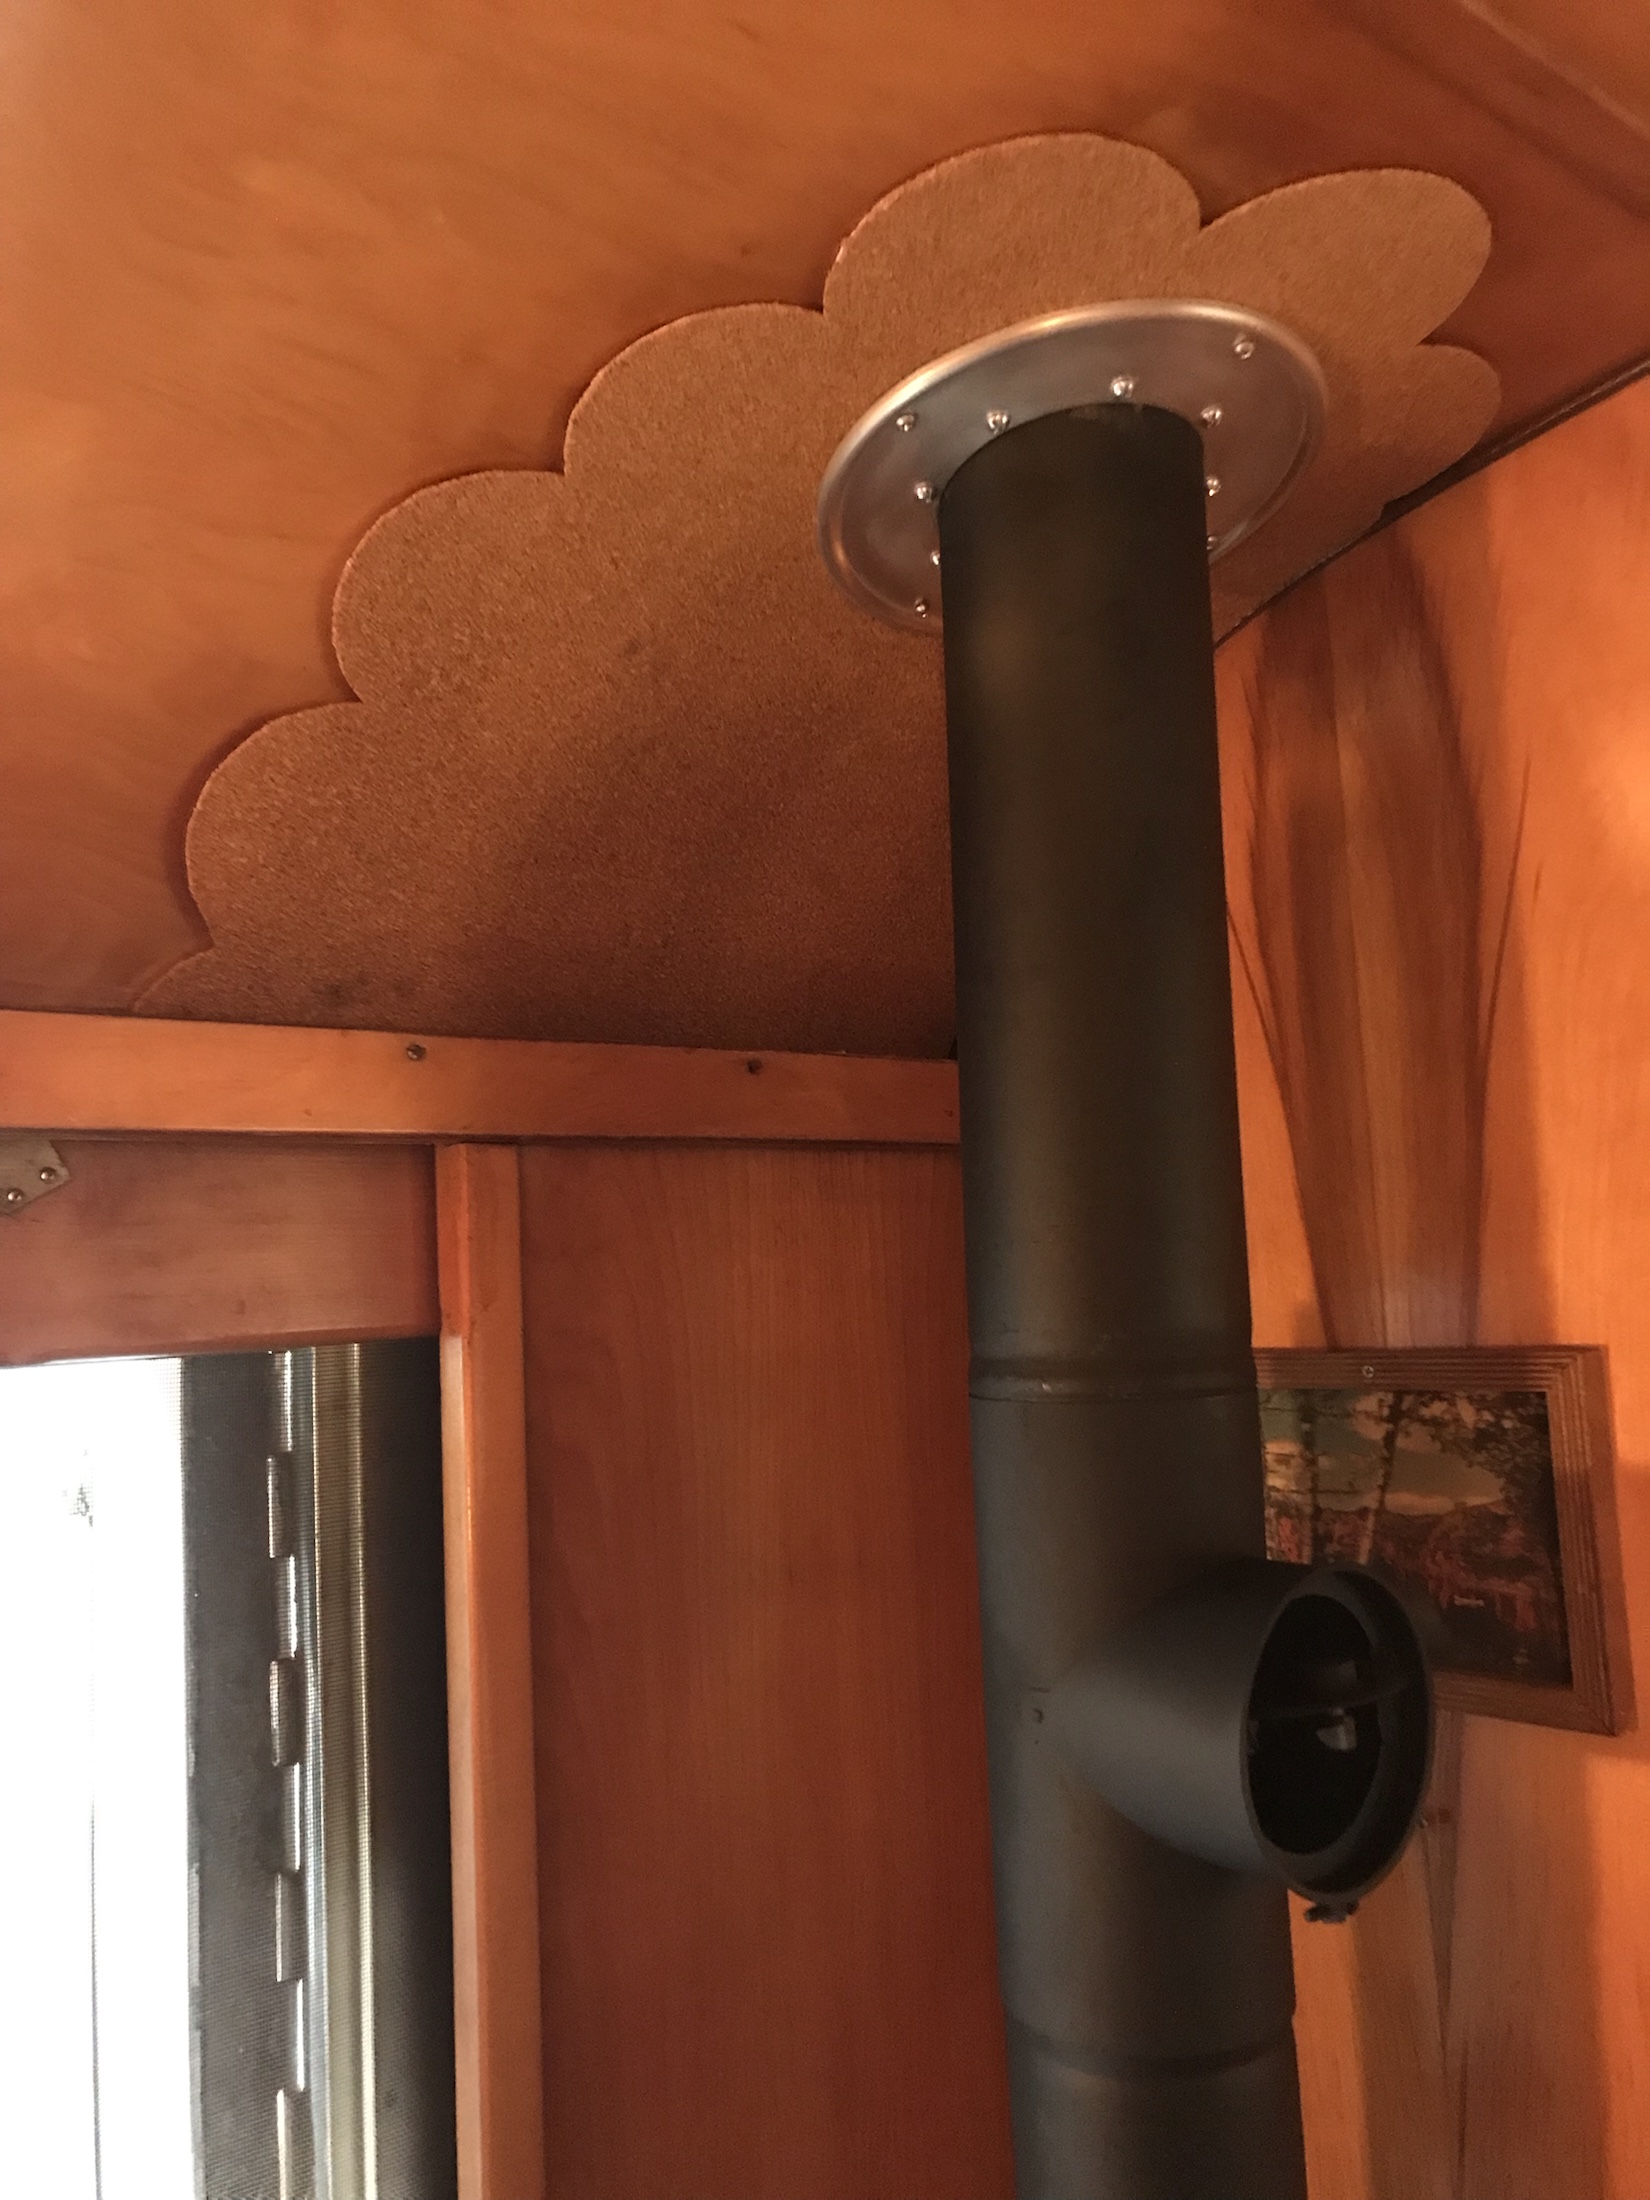
The Duotherm housing is screwed to the riser. Then it is ziptied thru the wall opening to the hanger bolts at the top of the cut opening. It’s very secure but remember it’s not holding anything else in place, just the lightweight metal housing. To conceal the top of the portable ac I painted the silver parts flat black. I used a piece of metal screening painted black to protect small items that might be dropped in, and it also supports the chimney pipe. The chimney pipe is also screwed to the ceiling but that’s a little sketchy with the usual rot so we shall see. I used a piece of cork to cover the rotted area. I like it but one of those things I’d do differently is I would extend the edge of the cork about 1/4″ past the plastic support that I used. You can see the white plastic edge. It only gets worse because EVERYONE touches it when they come in. It’s really odd!
I just wanted to conceal the damage without any screws/glue etc that might interfere with future repairs.

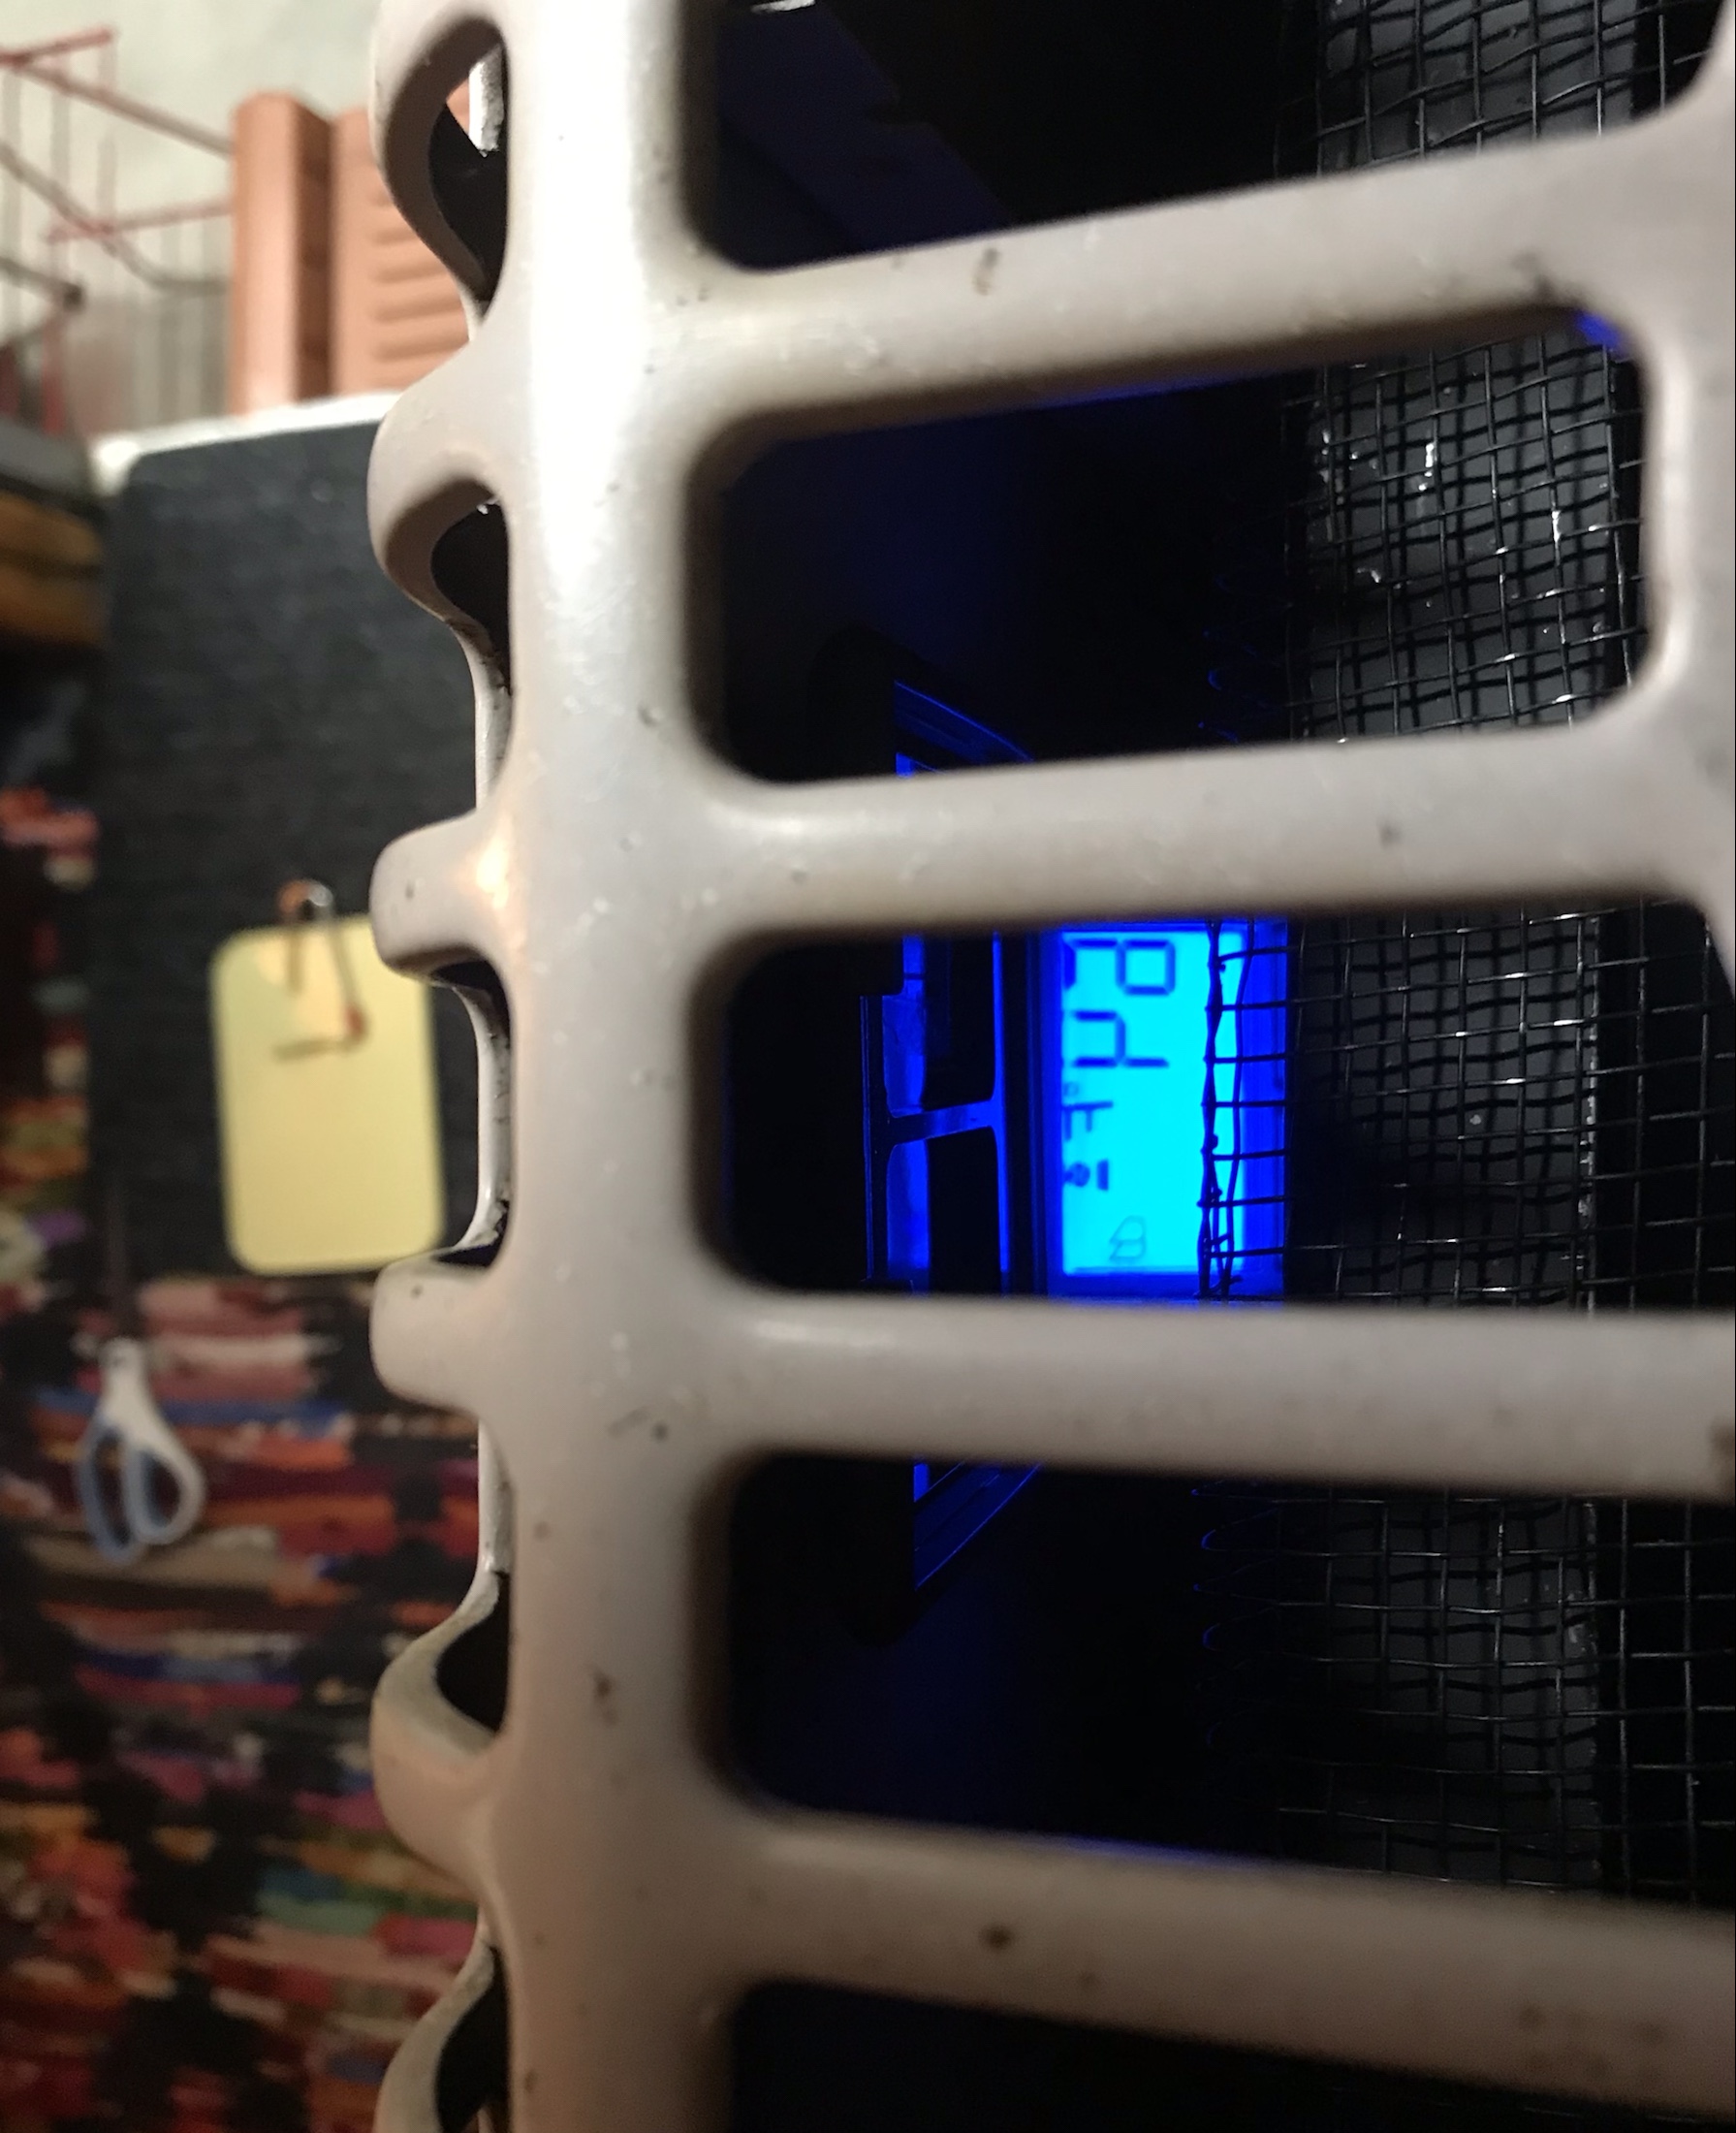
I found a makeup compact that I sacrificed so I could see the control panel from above. The remote works but it’s frustrating and it has to be right up on it.
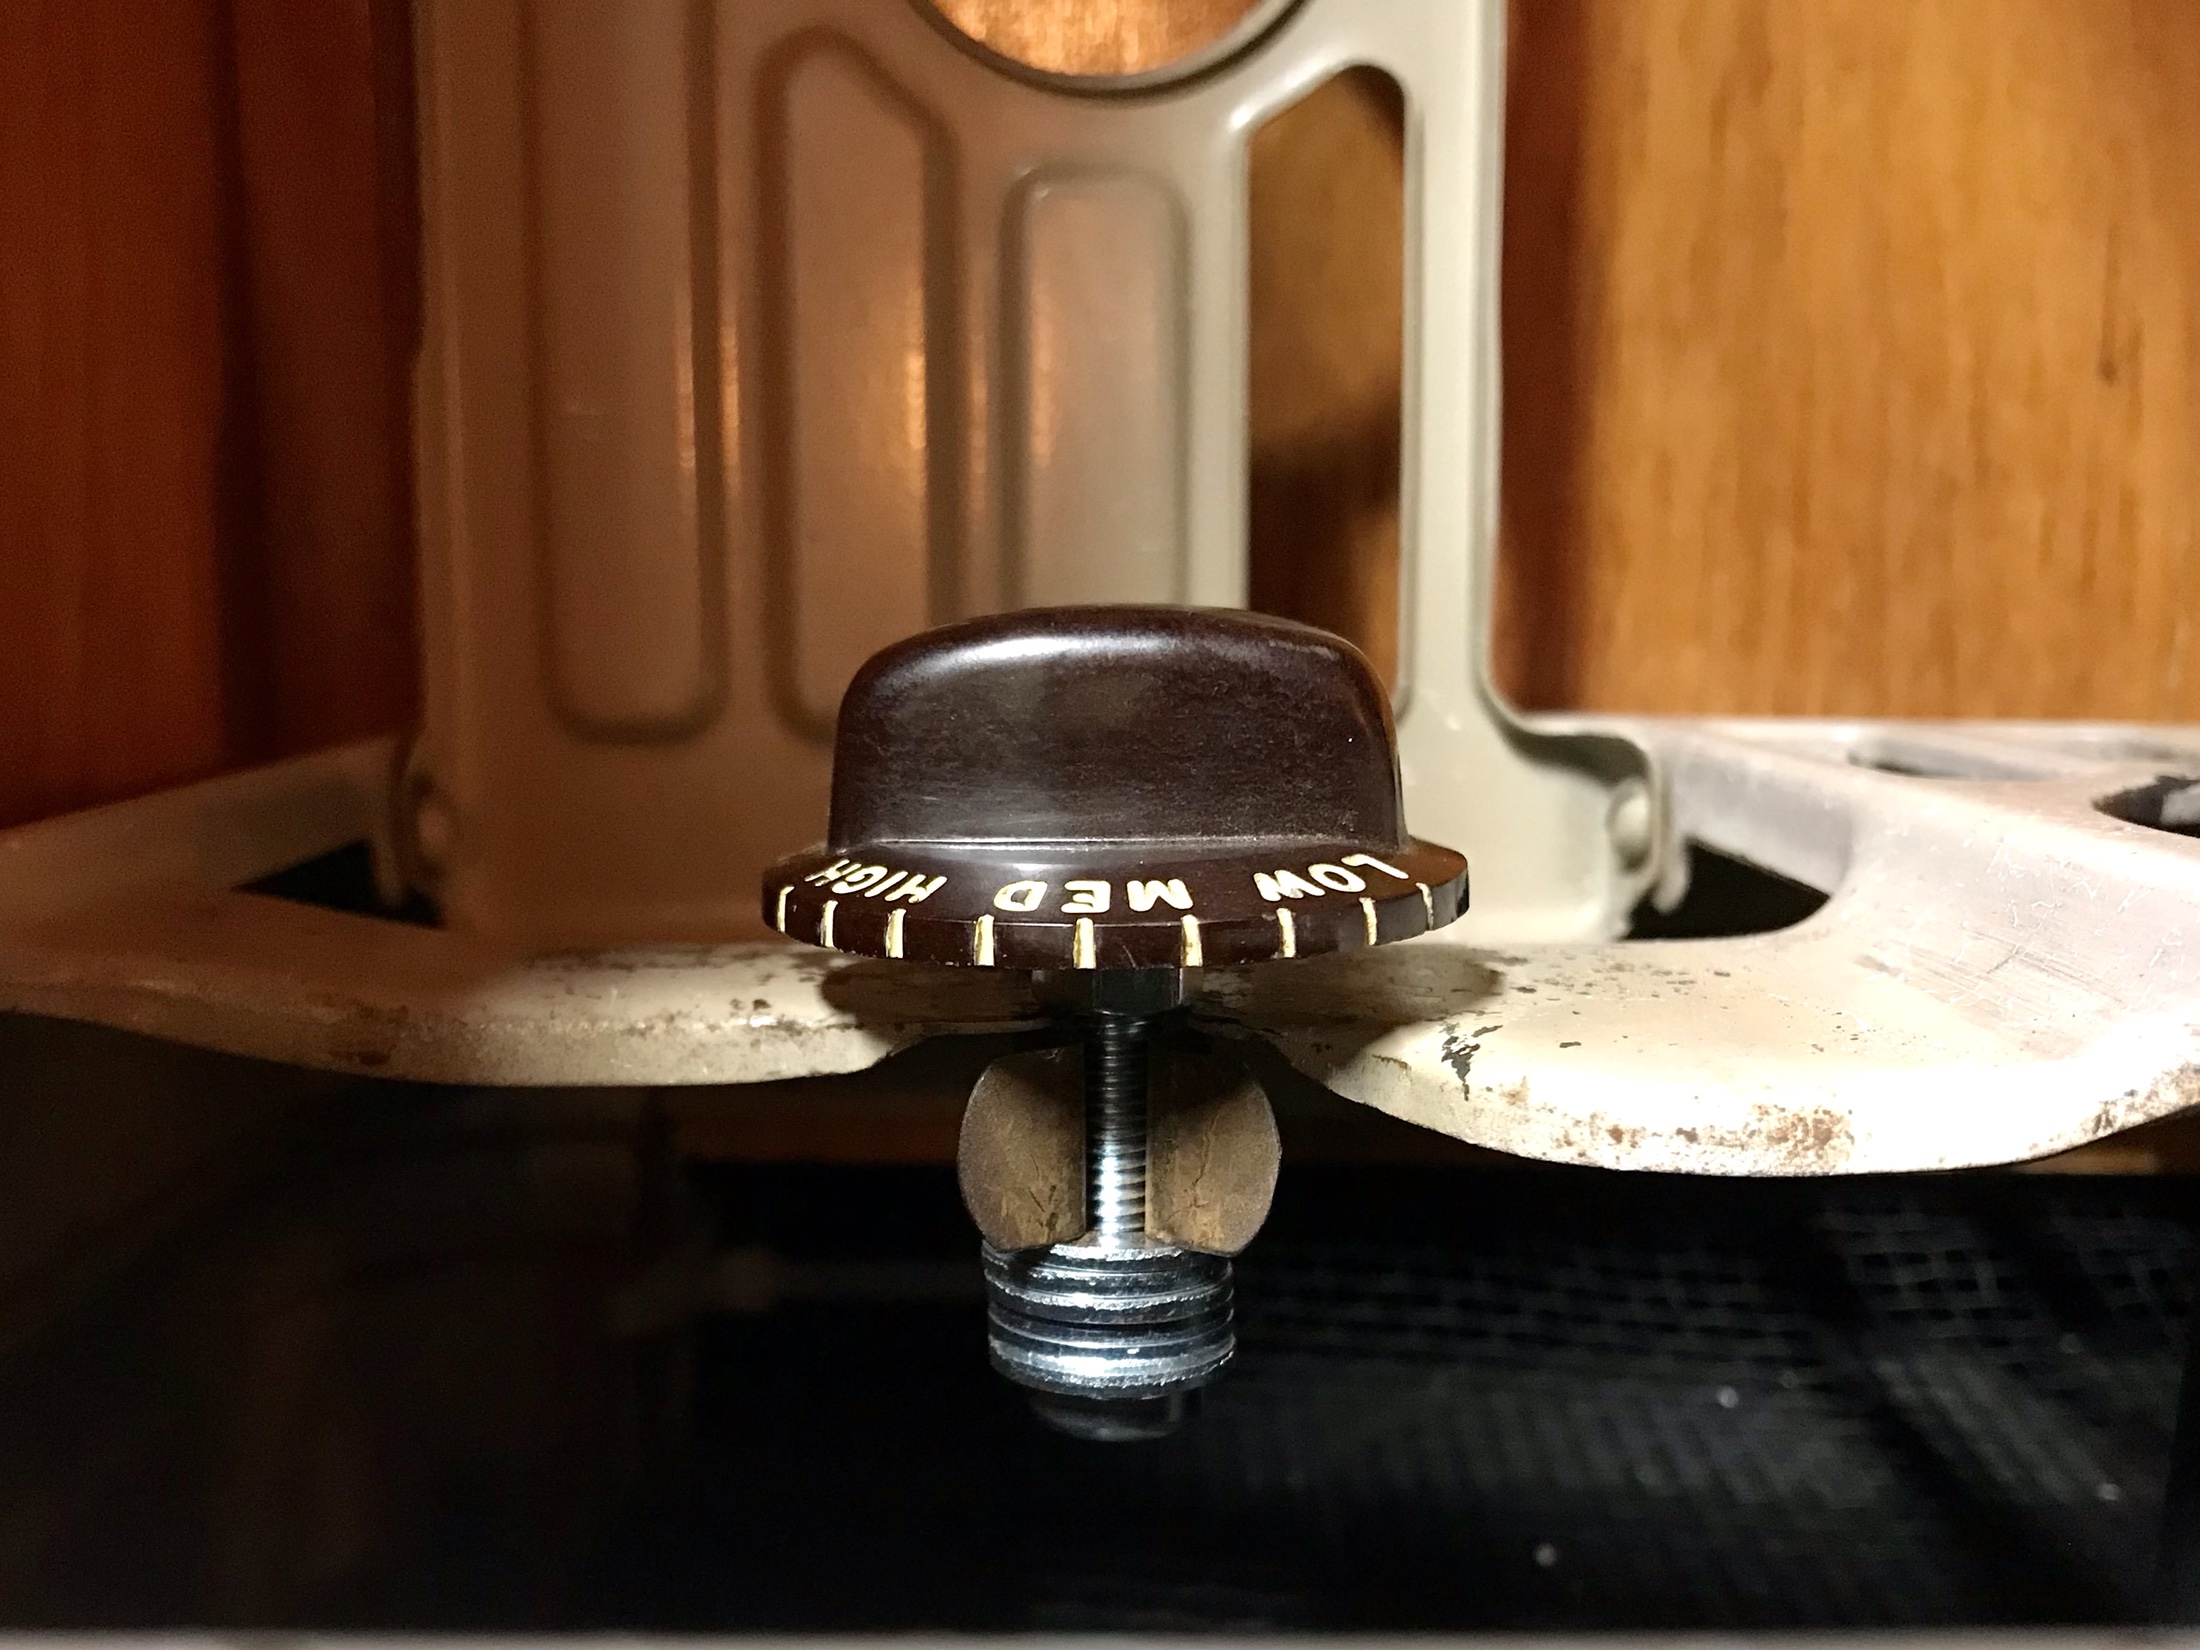
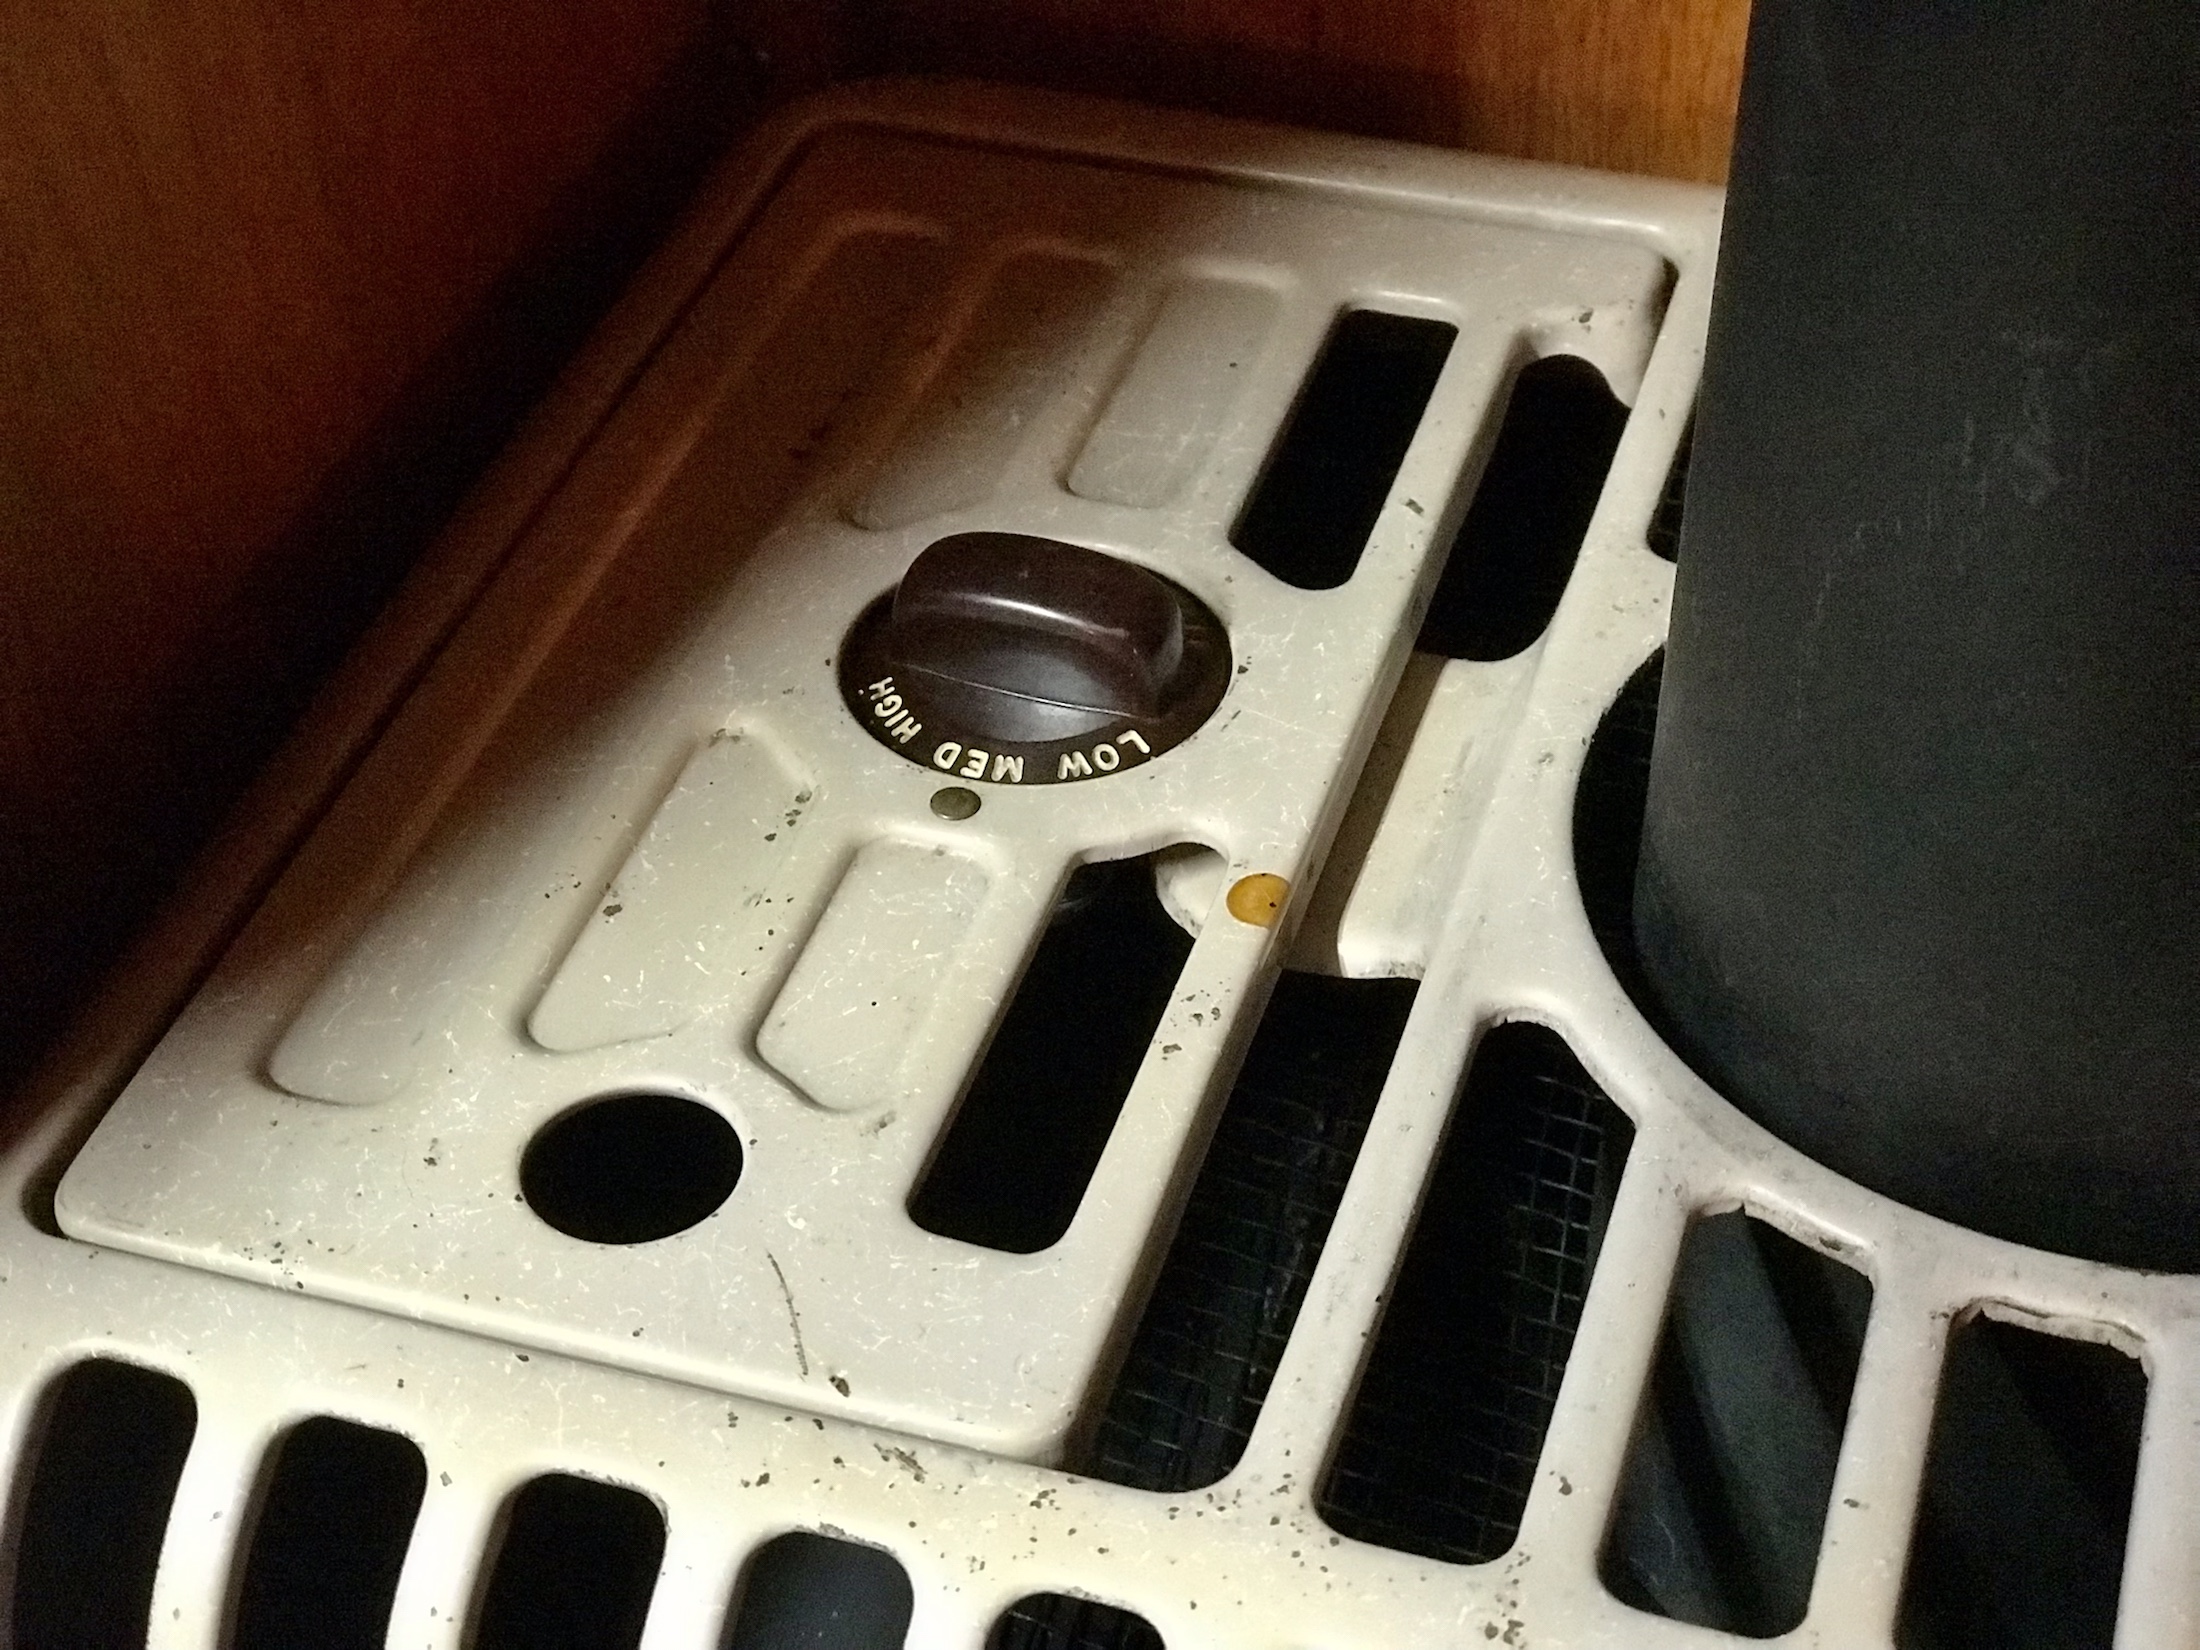
The knob was held onto the original control with a set screw so I just put it on a new bolt and used washers to get it to a good height. I think it looks good. I blocked the chimney pipe and wedged the little gate valve open so there will be some air coming out at a higher level and directed across the trailer.
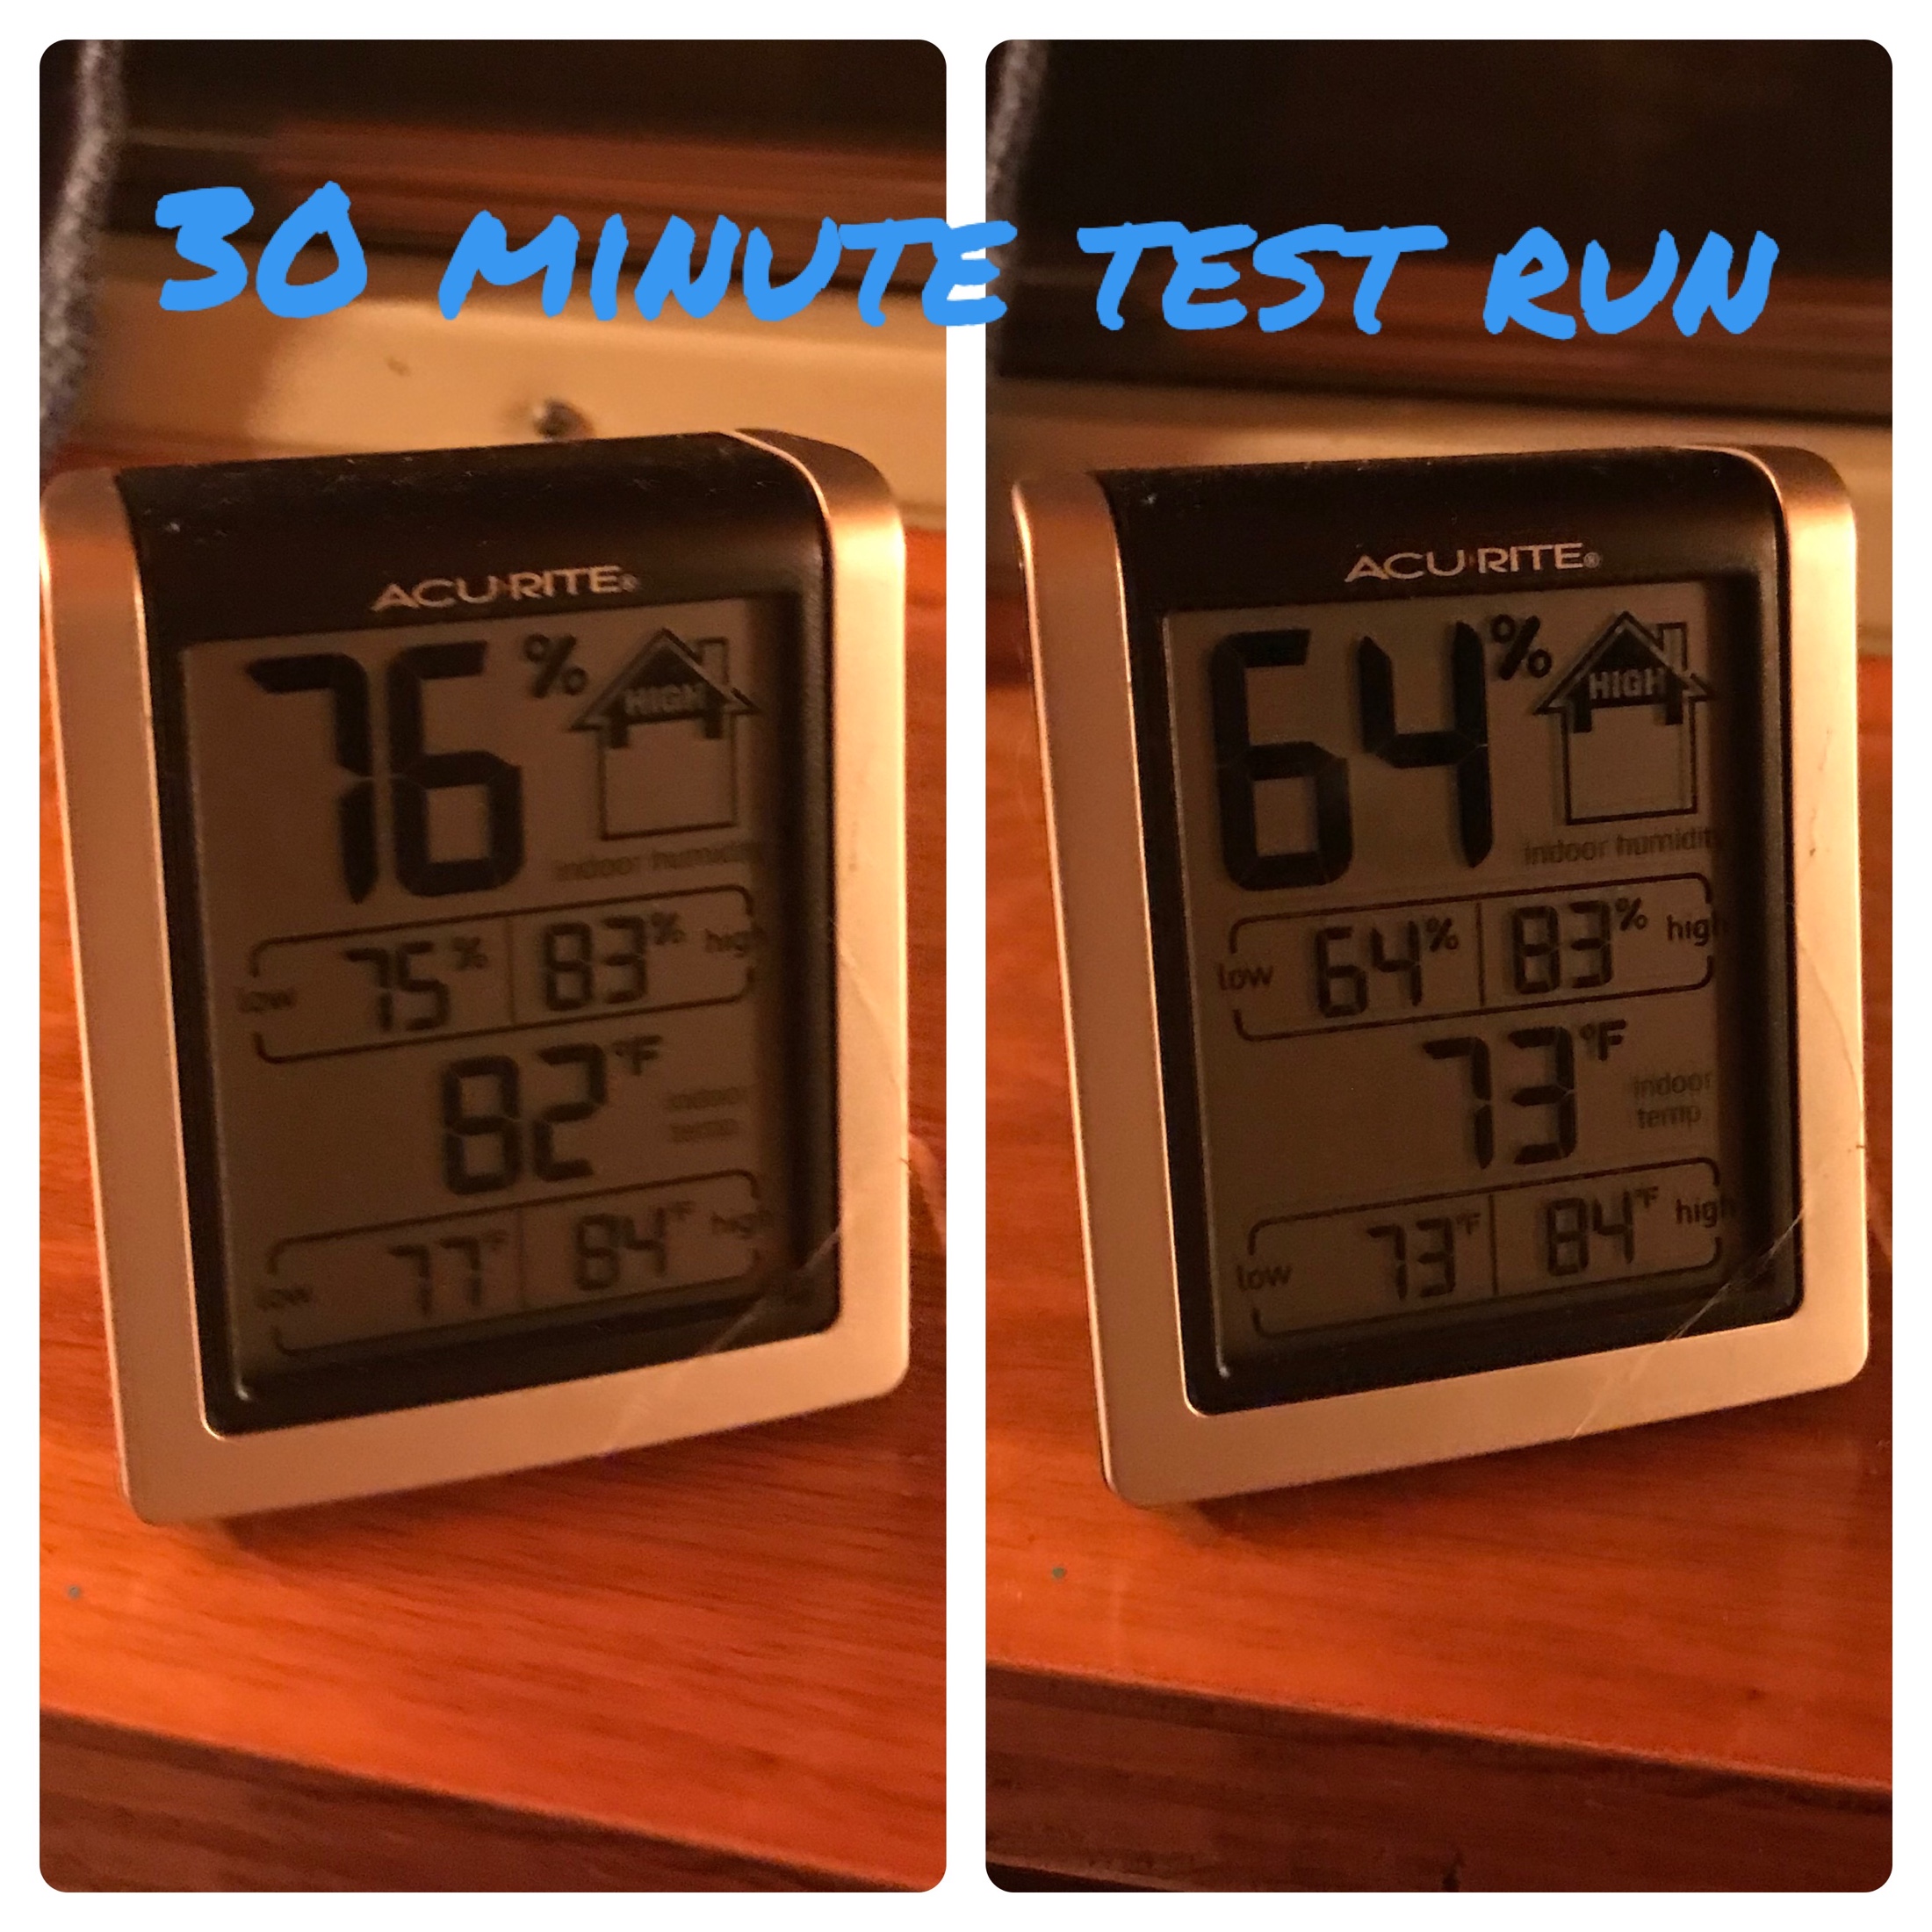
Overall, I’m pretty happy with it. My daughter gave me a very cool Vornado fan for Xmas that will help move the air into the bedroom. I also have a hassock fan I can use. I don’t think this is going to cut it when it’s 100 degrees but I don’t expect to have to sleep in 88 degrees in April again!
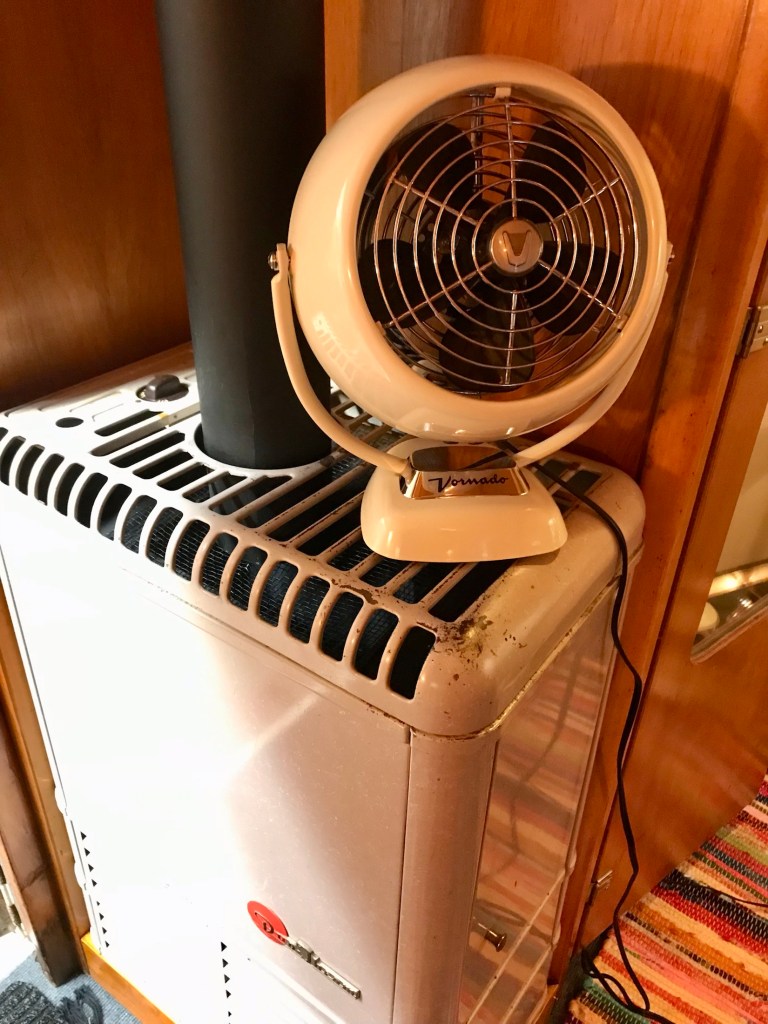

Vornado fan and space heater – love these!

